A nice way to get some dynamic motion and object interaction wholly within After Effects using data obtained from AEScripts.com Newton 2 applied to Video Copilot’s Element 3D (v1). For the sample video: vimeo.com/118061904
In this tutorial I will be going over the steps of setting up a 2d physics simulation in Motion Boutique’s Newton, and then tying 3D models to it using Element 3d. Then I’ll go over how to tweek the keyframes to make the physics appear to be more 3D. I’ll share some tips for animating a 3D camera. Finally I’ll go over making the shots looks good. I’ll go through two examples.
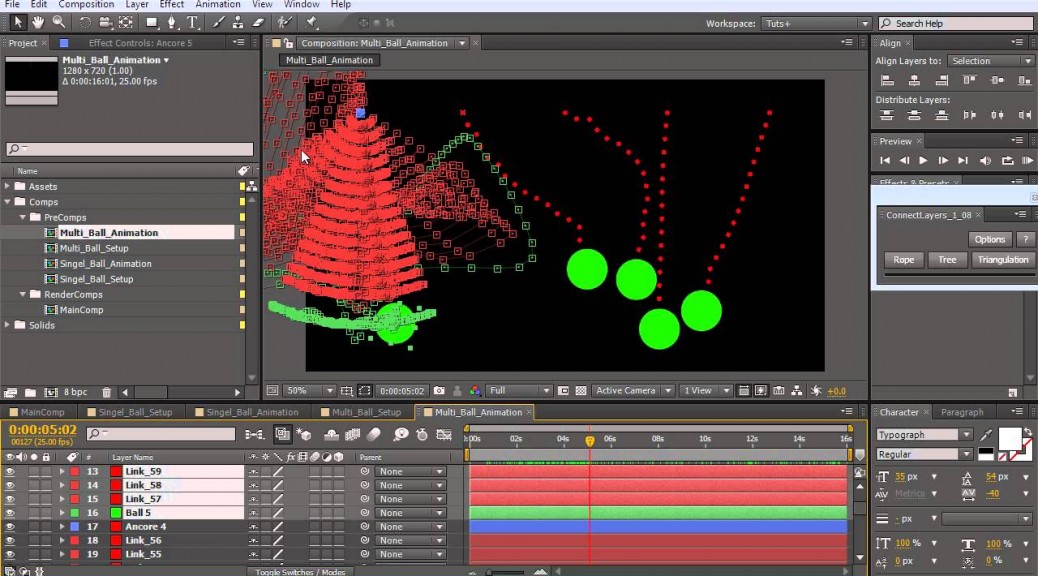
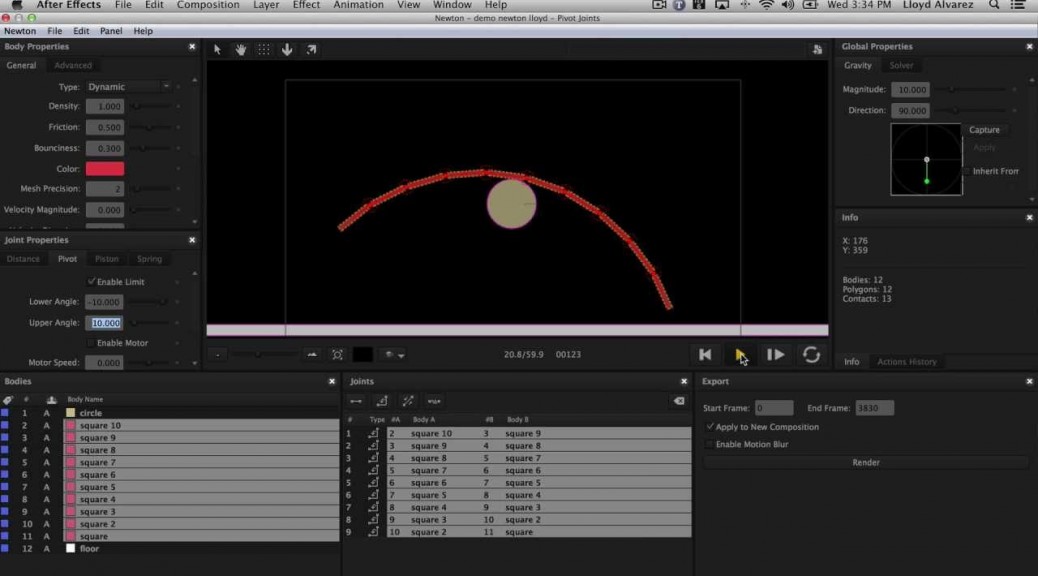
In this tutorial, I’ll show you how to create physically accurate ropes as we make use of the new “Joints” option in Newton 2. We will be testing out various physical parameters for different objects and we’ll solve the different problems that may pop up during the simulation. So fire up After Effects and let’s get started!
This is an introduction to the new features of Newton 2. Newton is a 2D physics simulator that allows users to apply various simulations like gravity, collision, and bounce to their layers in After Effects. We’re going to work through a few scenarios to see how to set up and execute a simulation.
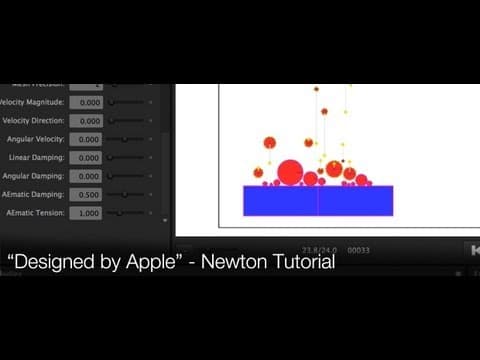
This tutorial by Lloyd Alvarez from aescripts shows how to use Newton to create the physics simulation sections of the “Designed by Apple” spot created by Buck.
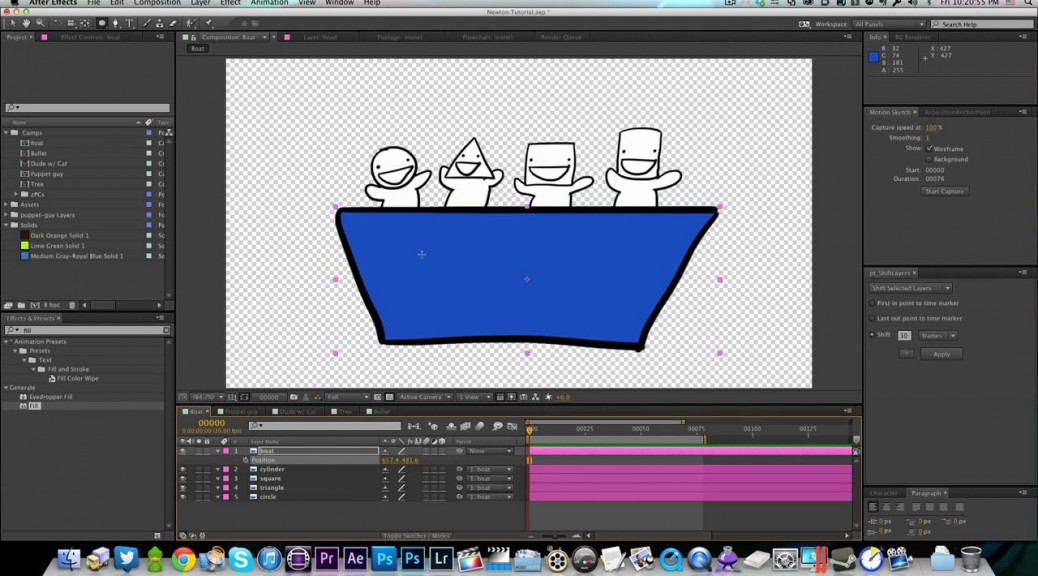
This tutorial covers a few basic techniques for using Newton which I learned while animating the cutscenes for the game BattleBlock Theater.
This tutorial covers:
-Creating masks to serve as “ball and socket” joints.
-Throwing objects in Newton using kinematic layers.
-Using masks to add physics simulations to overlapping layers.
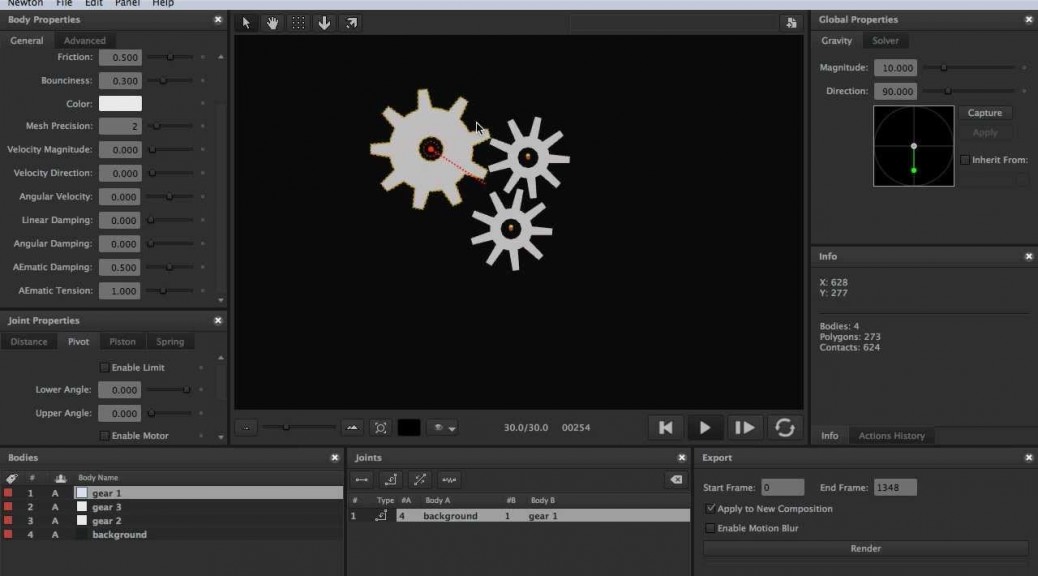
-Basics for using joints in Newton 2