In this After Effects tutorial, I’ll show you how to create a fluid and luminous typographic animation using Pastiche, Newton, and a custom expression.
Step-by-Step Breakdown
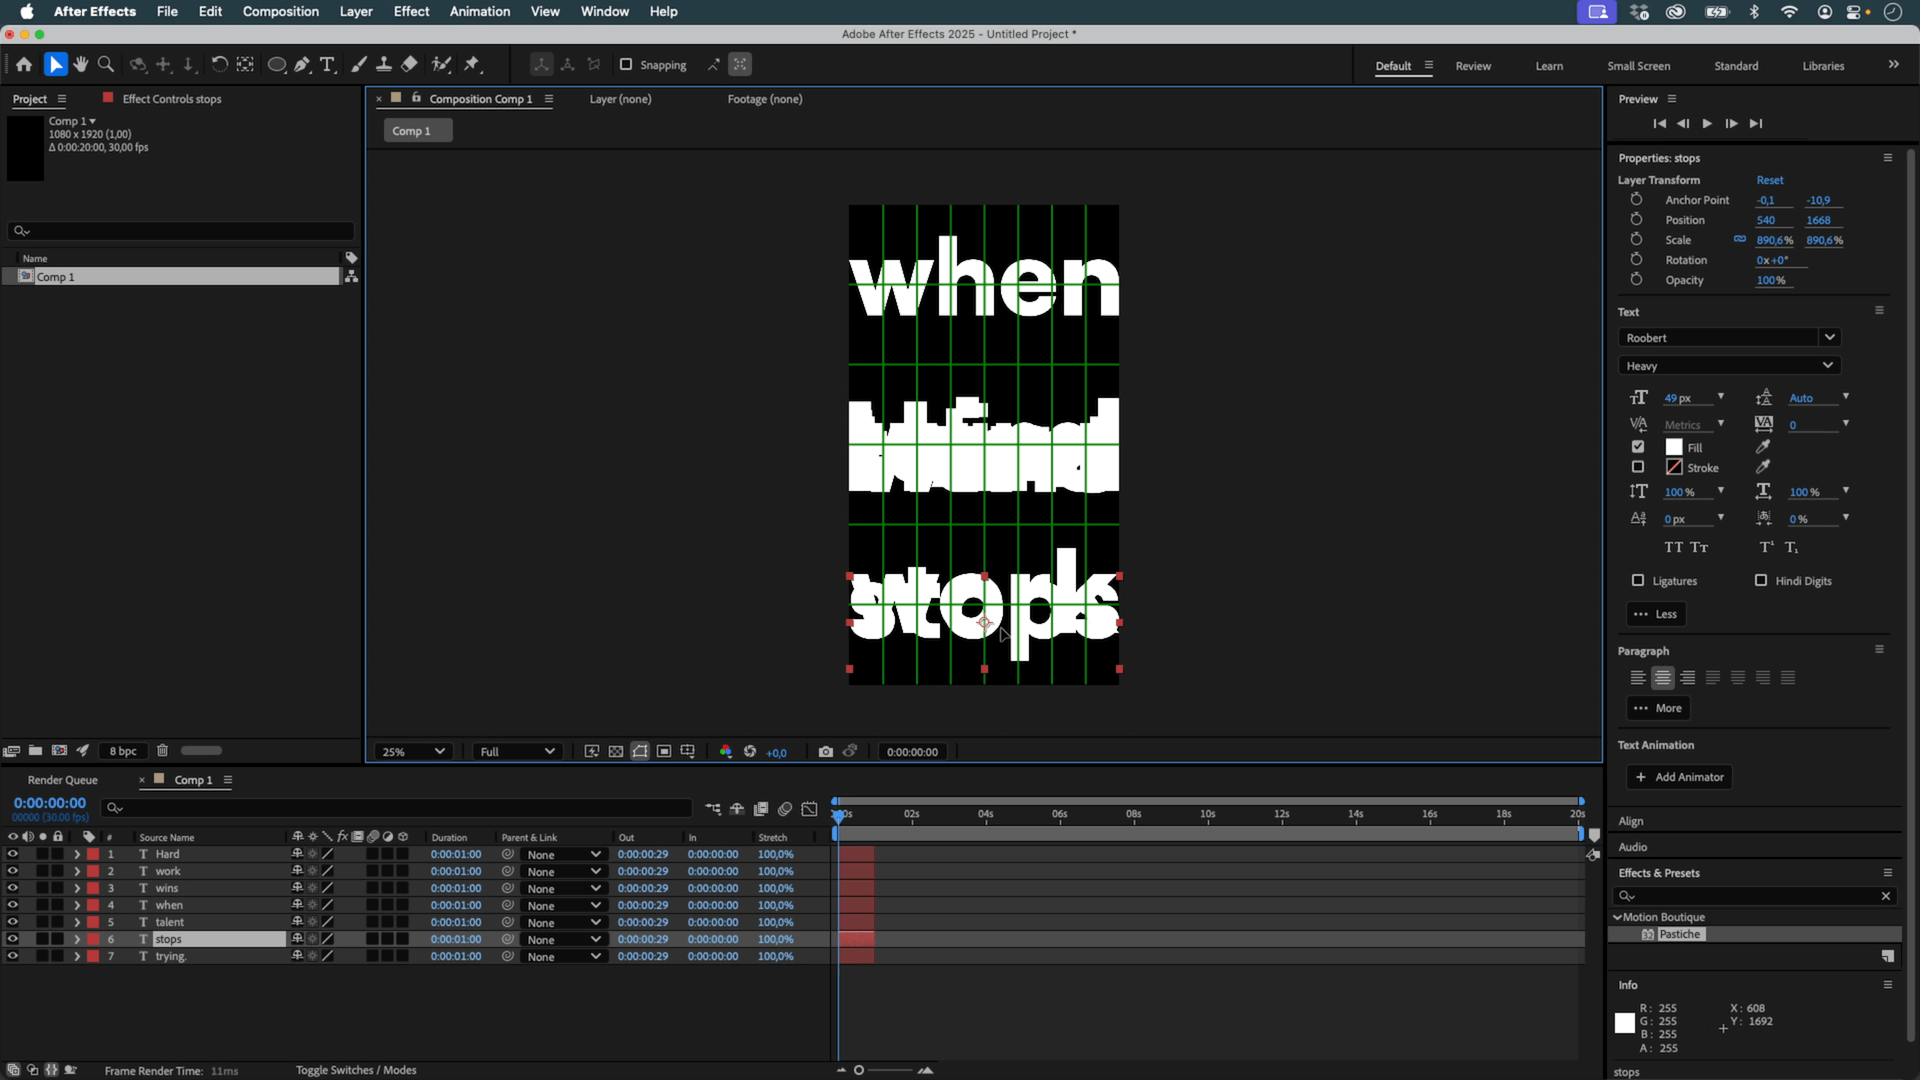
Step 1: Preparing the Text Structure
- Create a vertical composition and paste your sentence
- Decompose Text script.
- Center each layer’s anchor point on its content, stretch them to fit the comp width, and align them using the proportional grid
- Add a solid at the beginning of the timeline (30 frames) to serve as an introductory screen
- Offset all text layers so they appear after the solid
- Trim each layer to 30 frames and apply "Sequence Layers" via Keyframe Assistant so they animate one after another
- Rename this composition "Source"
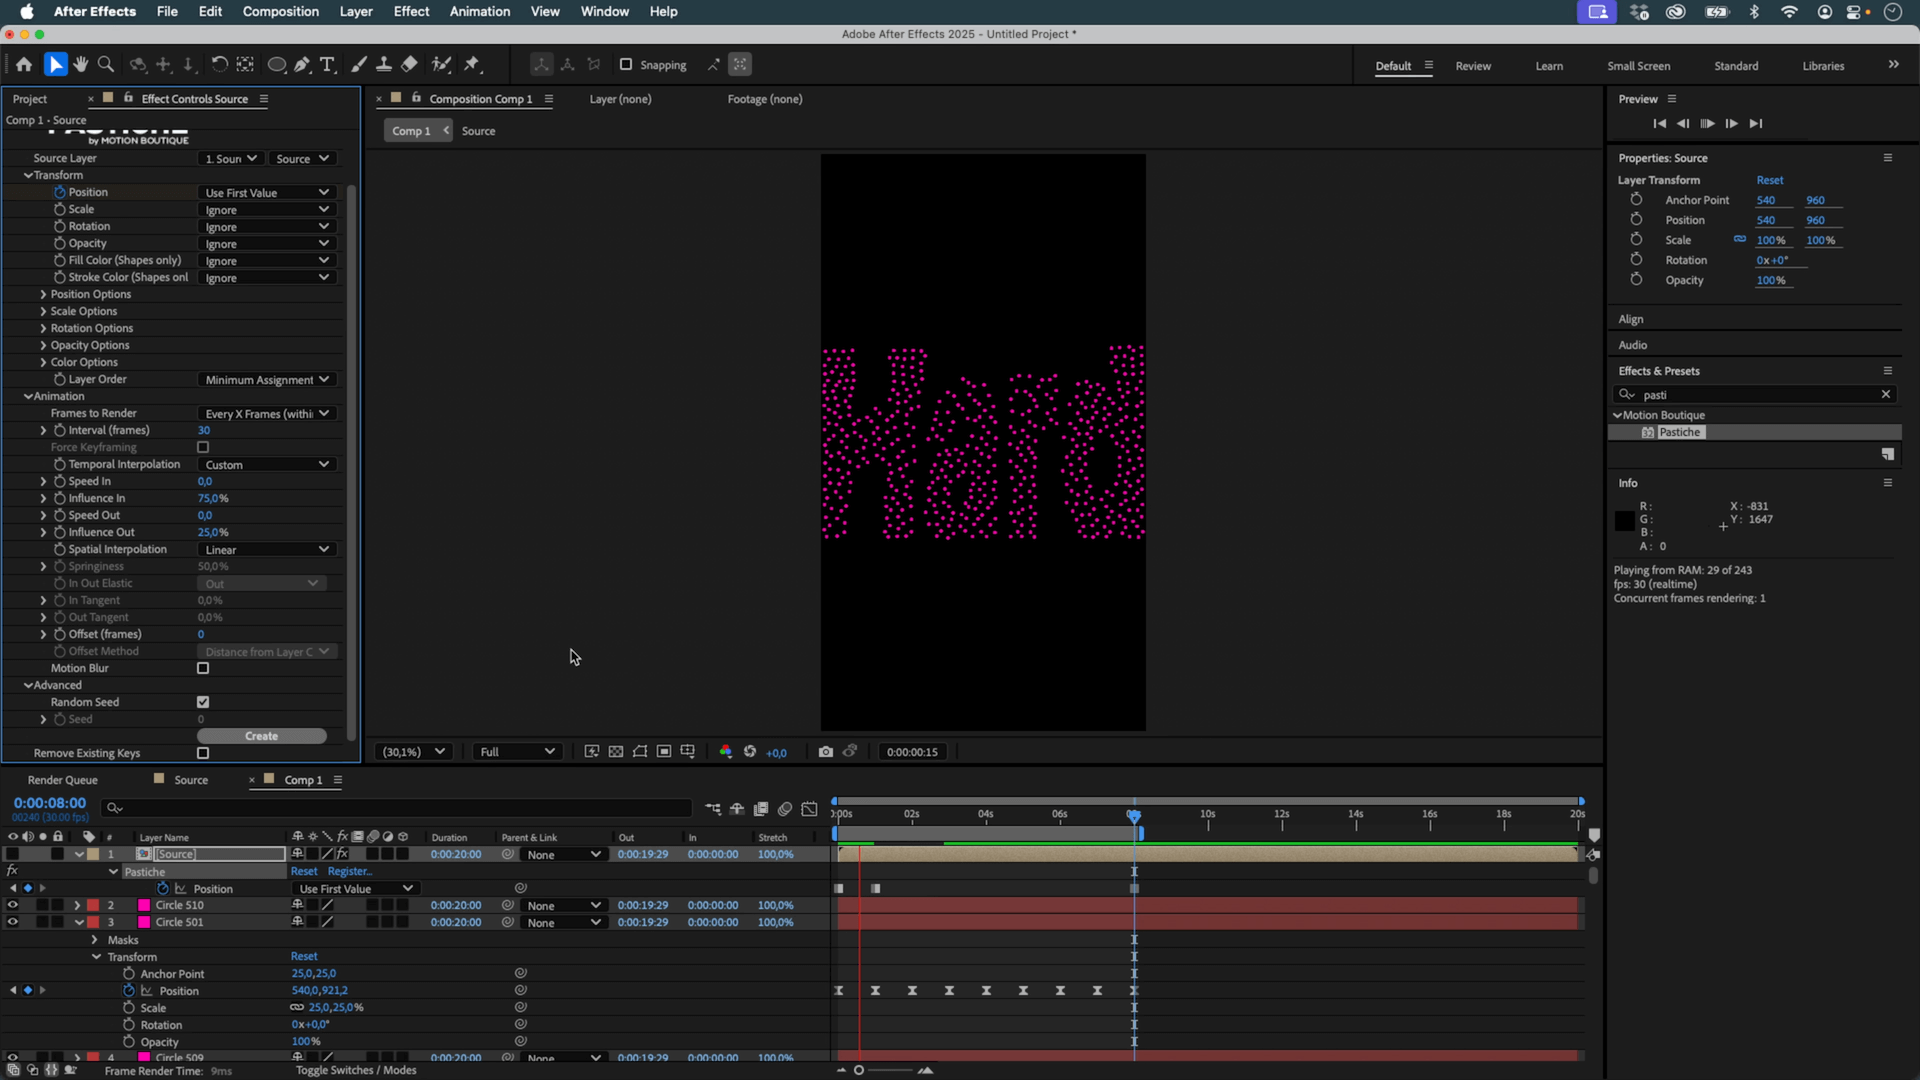
Step 2: Using Pastiche
- In a new composition, create a 50x50 px shape layer with a circular mask
- Duplicate this layer 500 times, manually or using MOBO_Utils
- Place the "Source" comp above the circles and apply Pastiche
- Set "Frames to Render" to "Every X frames within work area", and choose an interval of 30 frames
- Change the position transformation from Grid to Organic after the first text appears
- Enable "Use first values" as the final state to loop the animation
- Reduce the size of the circles (e.g., 25%) to improve clarity
- Fill any remaining gaps by duplicating a few additional shapes if needed
- Set temporal interpolation to Custom: In = 75, Out = 25 for a smoother easing
- Enable "Offset Frames" (e.g., 6) and animate the "Offset Method" to introduce variation in timing and structure
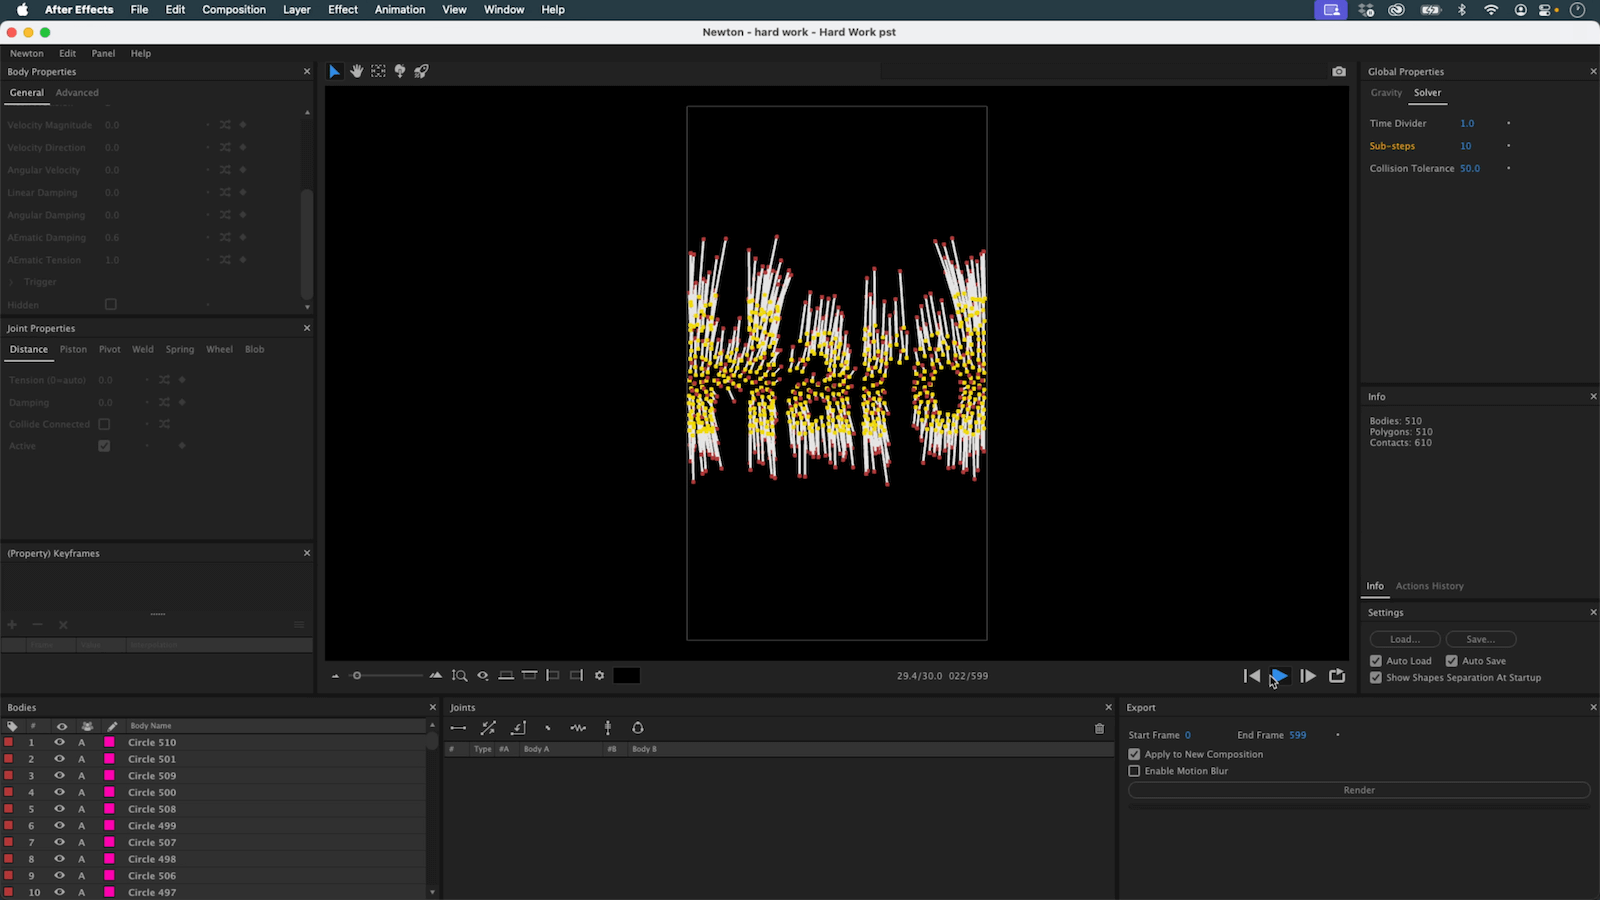
Step 3: Creating a Secondary Version with Newton
- Import the Pastiche composition into Newton
- Disable gravity and increase Sub-steps to improve simulation accuracy
- Set all elements to AEmatic to give them a spring-like return toward their origin
- Adjust Damping and Tension to control the elasticity of the movement
- Remove all objects from Collision Group A to prevent them from interacting with each other
- Export a simulation of around 300 frames
Step 4: Drawing Lines Between States
- In a new comp, create a shape layer with a 2-point path and a 5px stroke
- Apply to the Path properties the expression provided here to dynamically link each pair of corresponding shapes.
- Duplicate the shape layer for every pair of elements using "Copy with Property Links"
- Adjust visual styling using taper effects to create stylized arrows or direction indicators
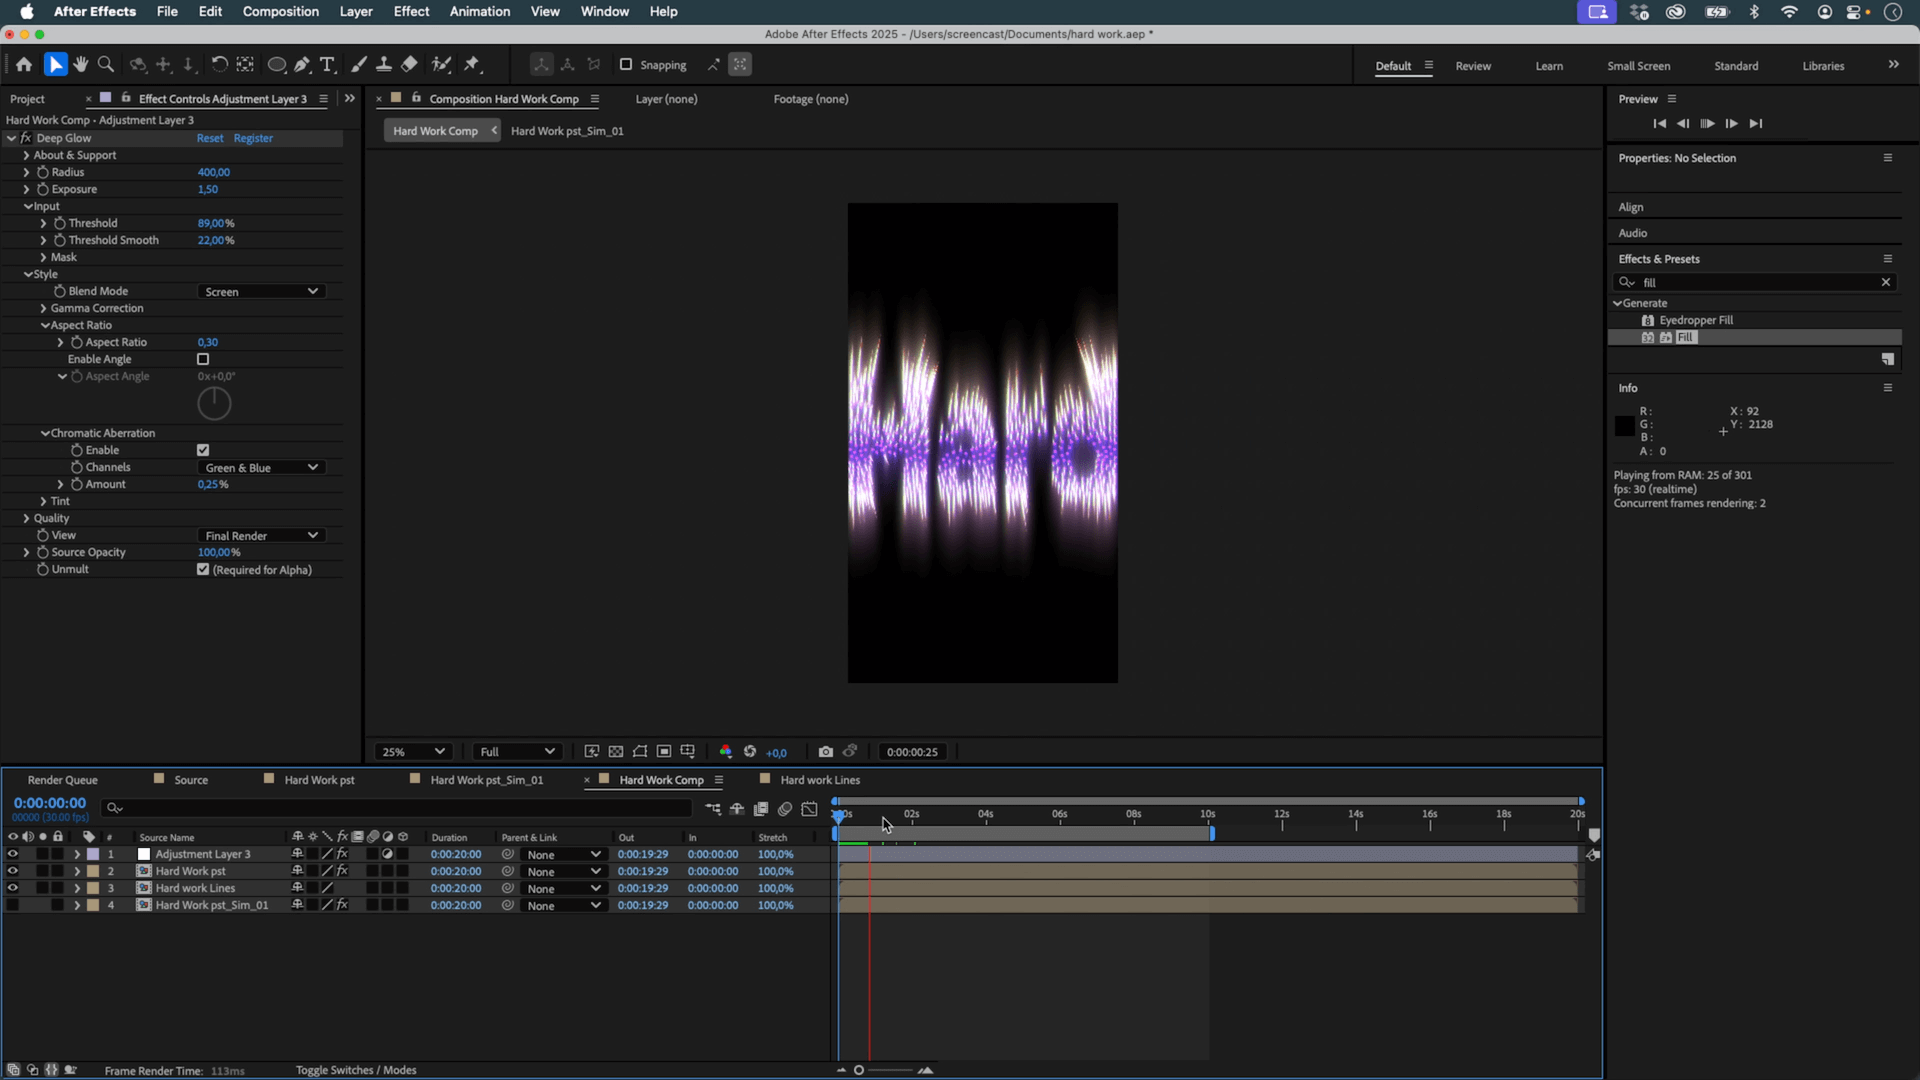
Step 5: Final Composition
- Combine all compositions (Source, Newton, and Lines) into a final comp
- Use Fill effects to assign different colors and distinguish elements visually if needed
- Apply Deep Glow (or the native Glow effect in AE) to enhance the final look
The entire project is completed entirely within After Effects, using a mix of native features and a few helper tools to streamline your workflow.
Questions or feedback? Feel free to join our Discord server.
