In this After Effects tutorial, I’ll show you how to transform a block of text into a complex illustration (a Dragon head) using Pastiche. We will cover how to manage over 1,000 layers efficiently, use layer markers for animation, and composite the result onto a realistic book page.
Step-by-Step Breakdown
Source files: download
Step 1: Generating and Preparing the Text
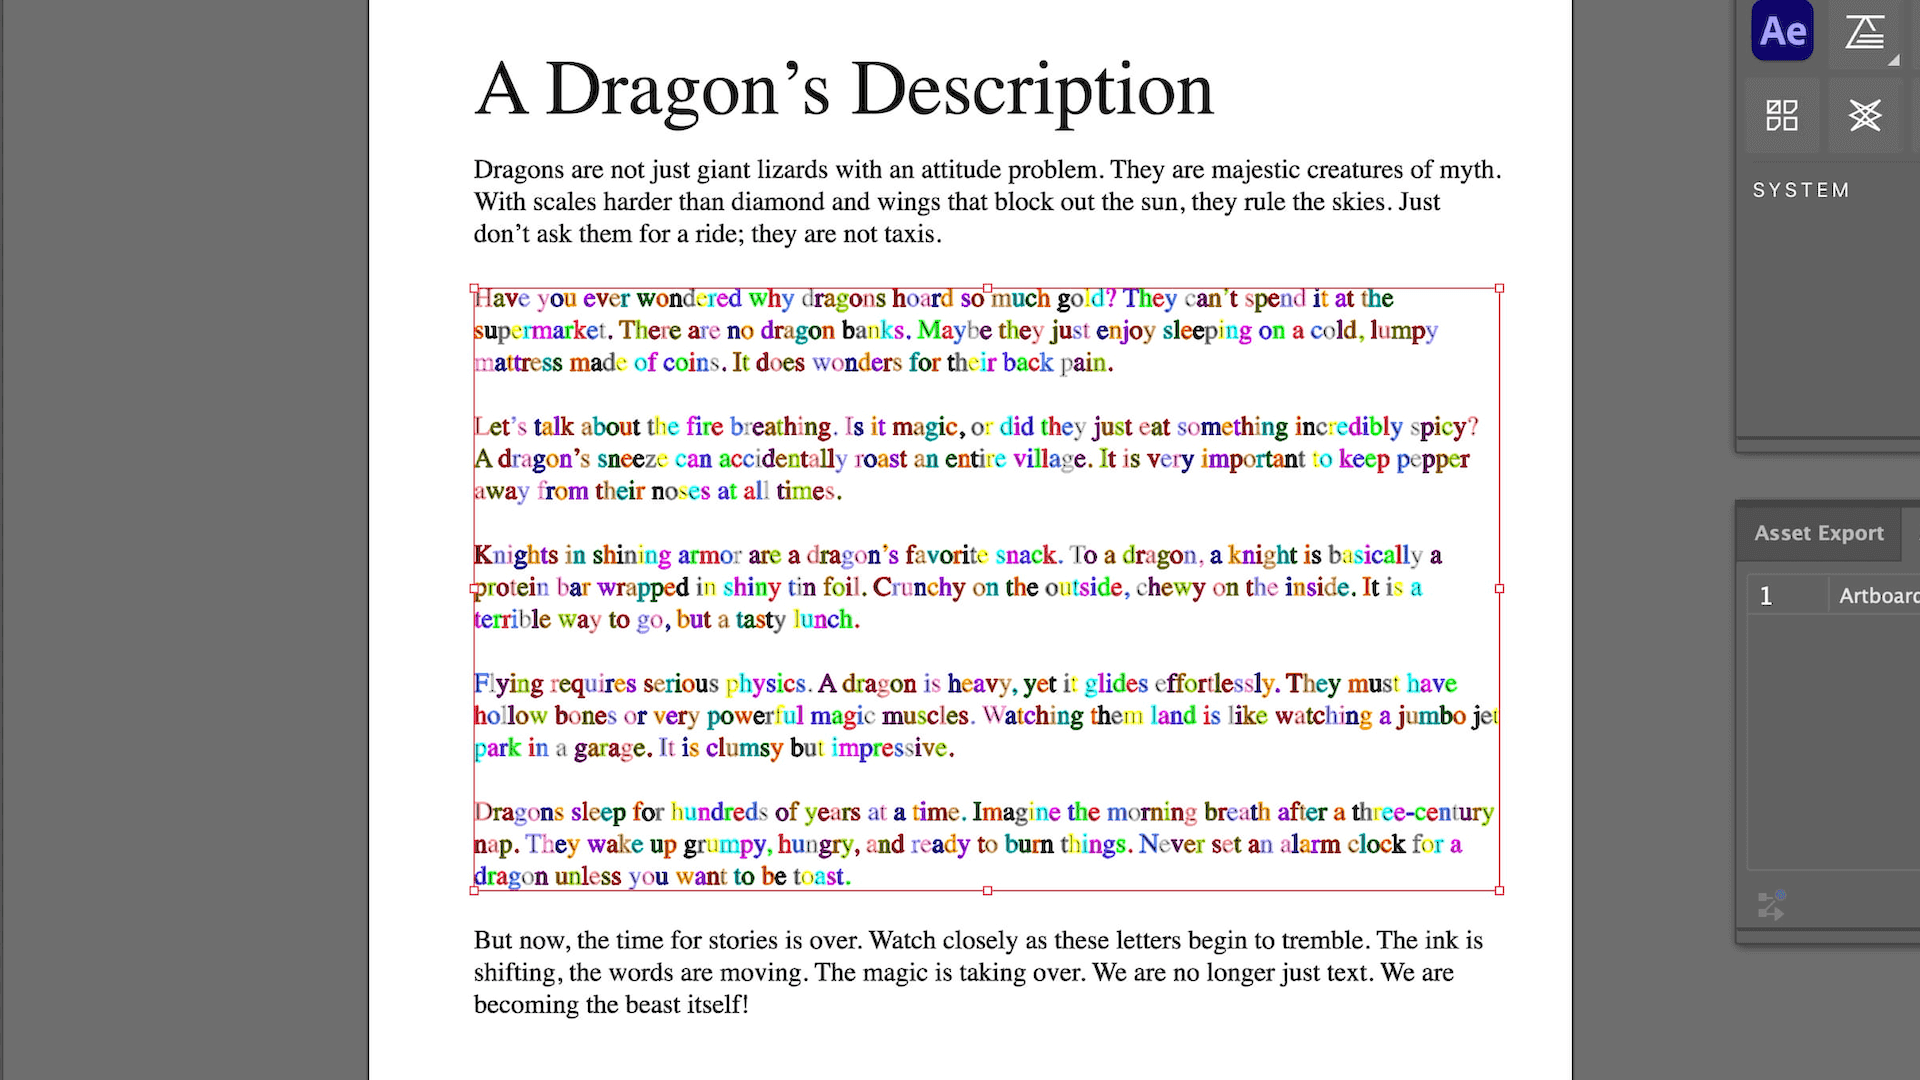
- To ensure smooth performance in After Effects, aim to animate around 1,000 characters (layers). Here, we are going to generate a text with 7 paragraphs (100-300 chars each) and animate only the central 5, keeping the first and last and the title as static decoration.
- In Illustrator, set up a 1080x1920 artboard and paste your text (font: Times).
- Convert the text to vectors using Create Outlines.
- Isolate the 5 central paragraphs on a new layer.
- Select the letters, open the layer menu, and choose "Release to Layers (Sequence)" to put every letter on its own layer.
- Save the file as "Dragon Layers".
Step 2: After Effects Setup & Source Map
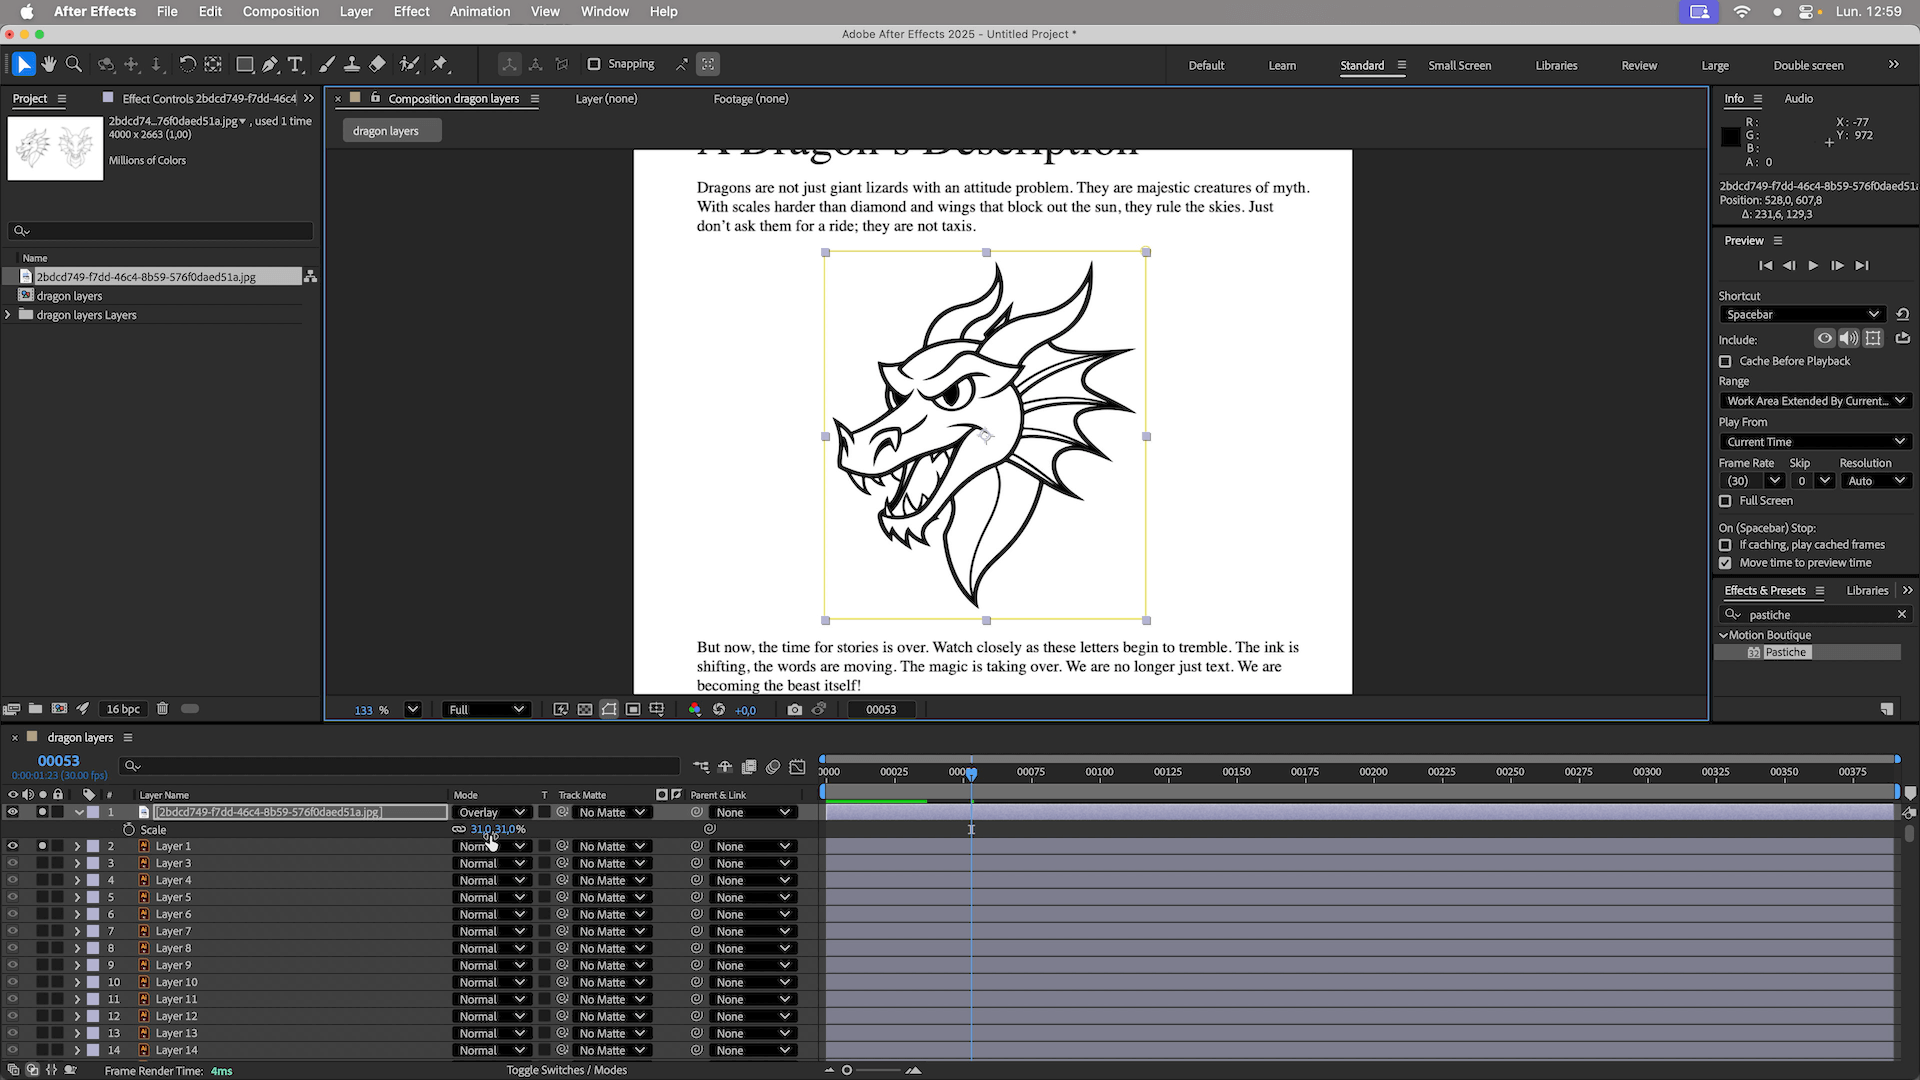
- Import the Illustrator file into AE as a Composition - Layer Size.
- Import your target image (the Dragon drawing).
- Set the Dragon layer’s blending mode to Overlay to see the text underneath.
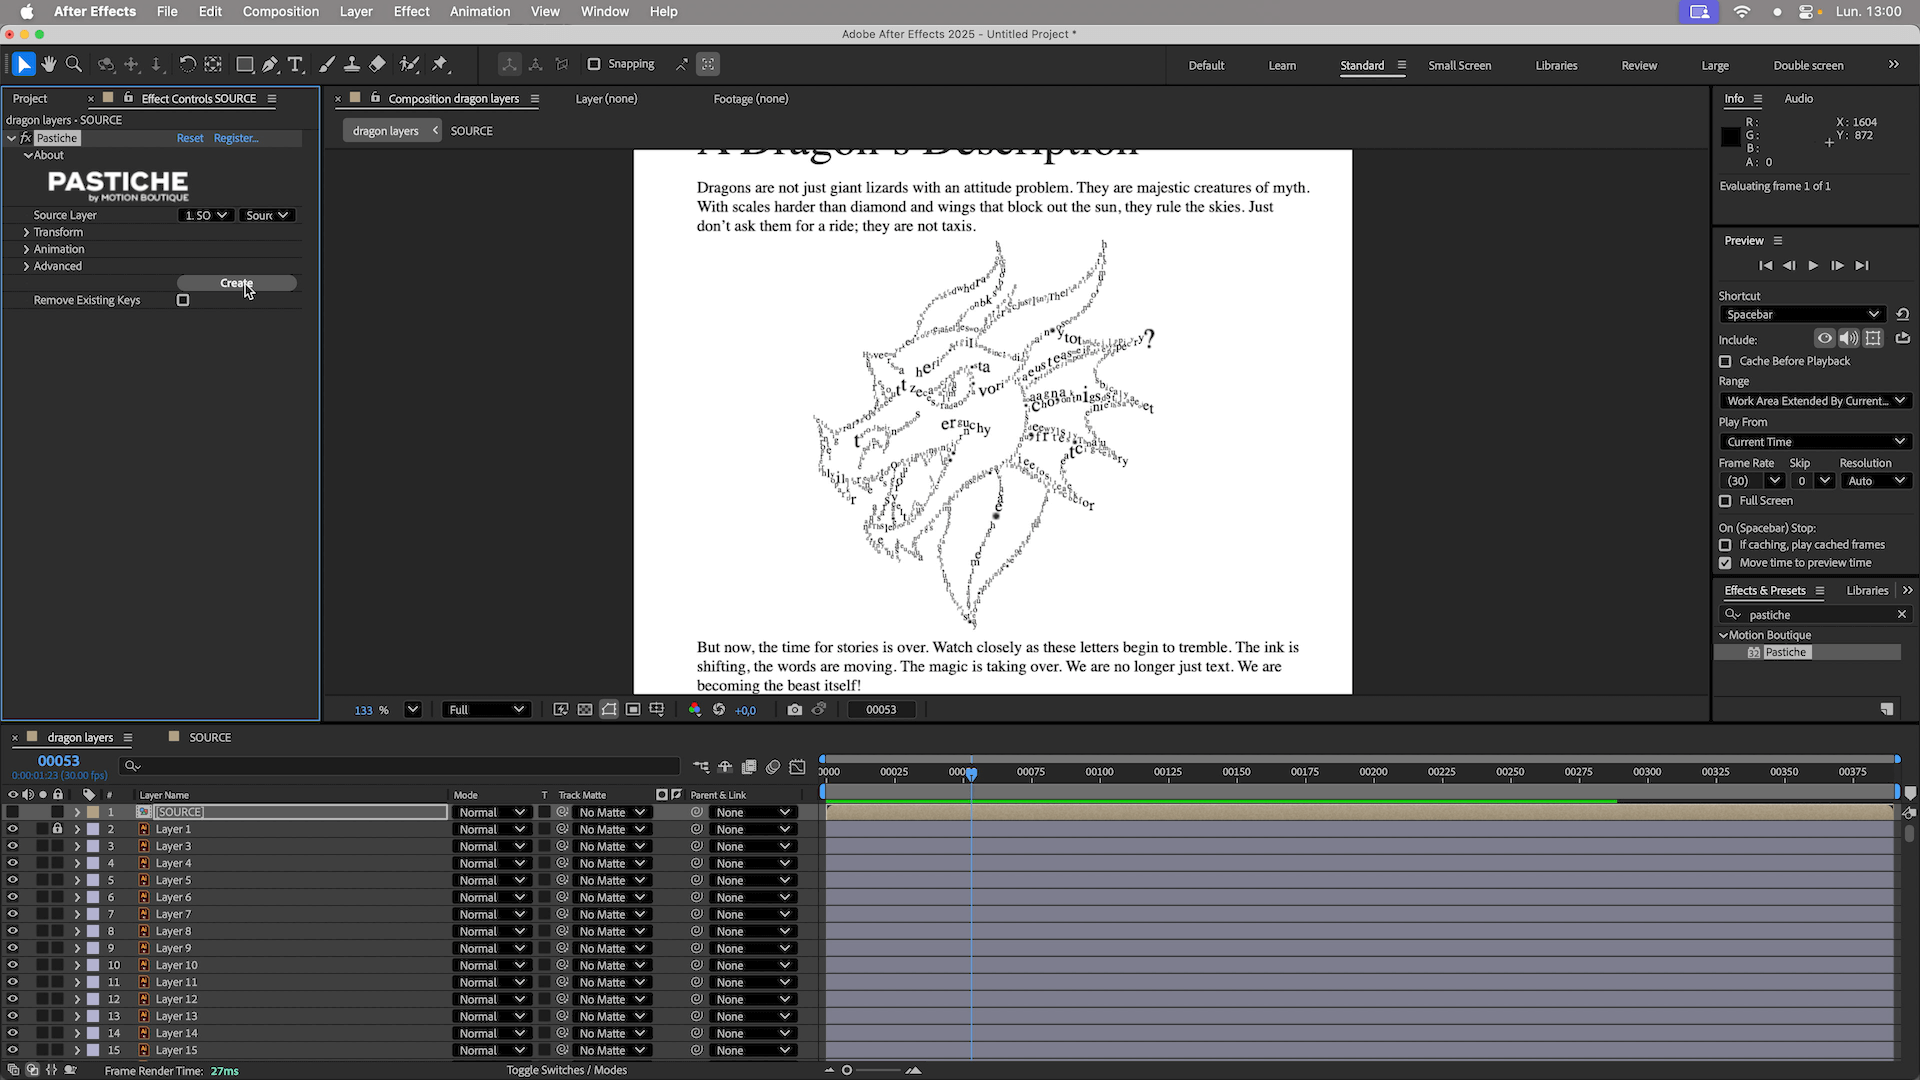
- Pre-compose the Dragon layer and rename it "Source".
- Inside the "Source" comp, apply the Set Matte effect (Invert Matte + Luminance) to create a clean black-and-white mask for Pastiche to detect.
Step 3: Creating the Collage with Pastiche
- In the main composition, lock the decoration text layers (Step 1) so Pastiche doesn't affect them.
- Apply Pastiche to the "Source" layer and hide the source.
- Click Create to generate the initial collage.
- Crucial: Undo (Ctrl/Cmd+Z) immediately to reset the layers to their original text positions before animating.
- Set Distribution Method to Stippling for a detailed fill.
- Set Scale to Random (Range: 3 to 12) to vary the letter sizes.
- Disable Prevent Overlap to make the shape denser.
- Set Rotation to Random (-45 to 45 degrees) to match the original style.
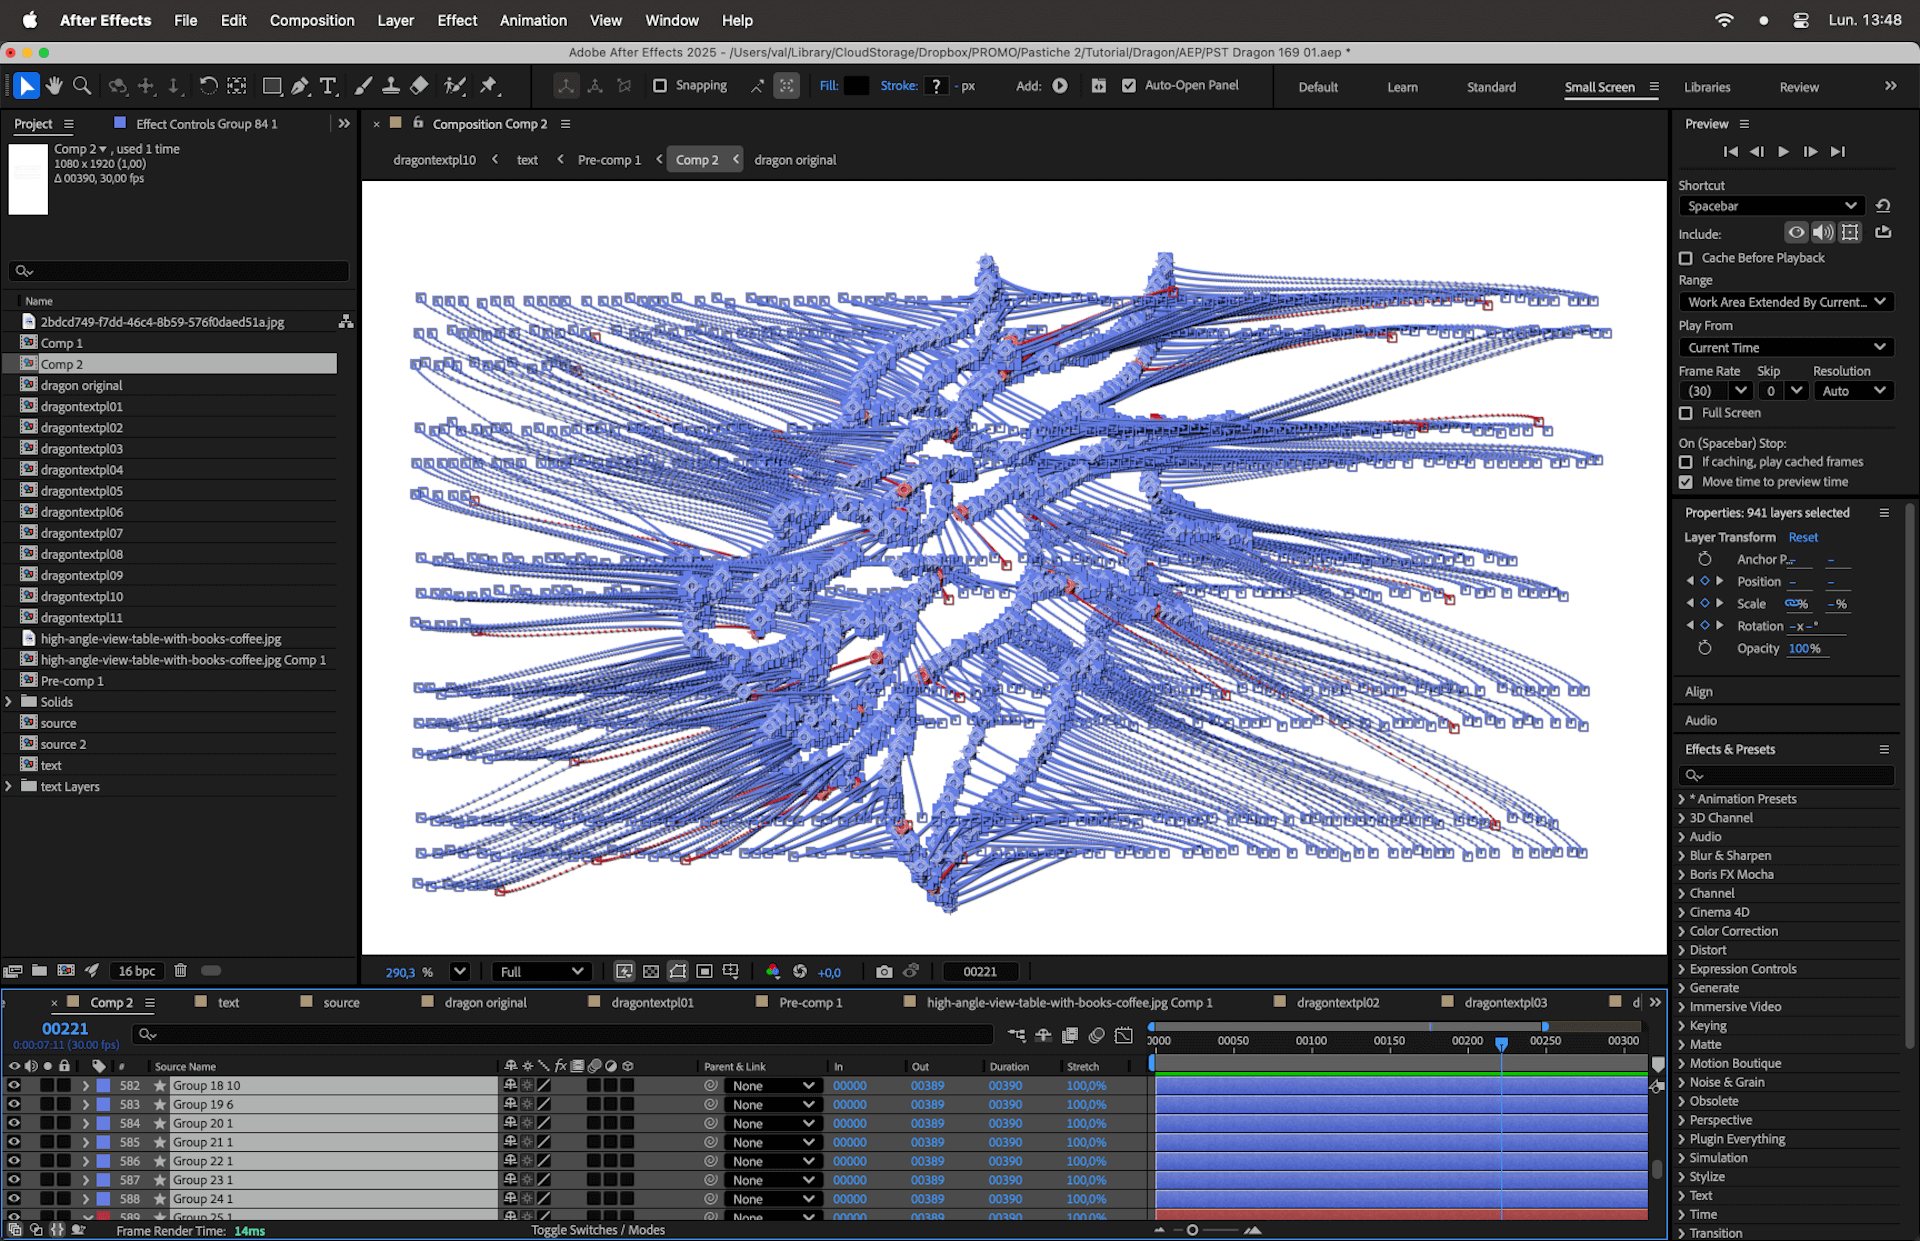
Step 4: Animating with Layer Markers
- Instead of keyframing manually, use Layer Markers to trigger the animation.
- Place a marker at frame 50 (start of morph) and frame 175 (end of morph).
- In Pastiche settings, under Transform, enable Position, Scale, and Rotation.
- Set the animation logic to Use Previous Value. This ensures the animation starts from the text's original layout and morphs into the Dragon shape.
- Click Create.
- Change Temporal Interpolation to Ease In and Out for smoother motion.
Step 5: Refining the Animation
- Desynchronize: Add an Offset of 50 frames to stagger the movement of the letters. You can also set different offset values for the start (e.g., 50) and end (e.g., 100).
- Organic Path: Set Spatial Interpolation to Custom (e.g., -20 and 20) to break the linear path of the letters.
- Fixing Details: If punctuation marks appear too large in the Dragon shape, select them manually and delete their Scale keyframes.
Step 6: Final Compositing
- Clean up your background image (e.g., an old book page) using Generative Fill in Photoshop to remove existing text.
- Import the clean page into After Effects.
- Drag your "Dragon" composition onto the page and adjust the transform properties (Scale/Rotation) to fit the perspective.
- Apply Levels to the Dragon comp to match the black level of the digital text with the ink of the book.
And the Christmas version!
The entire project relies on the power of Pastiche to handle mass layer animation without bogging down the workflow.
Questions or feedback? Feel free to join our Discord server or check the links in the video description.
