
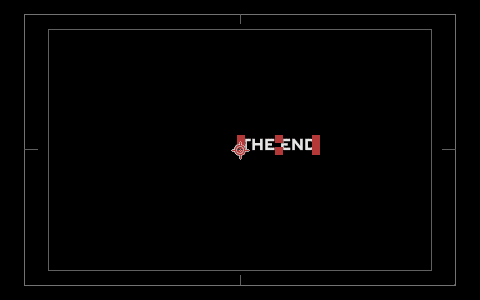
Trim Path Tricks
Attaching a layer to the end of a path using expression in Adobe After Effects
Start Simple
We first create a simple horizontal path using a shape layer. We make sure to set the layer’s position to 0,0 so the coordinates of the vertices will correspond to points in comp space (this will simplify a little bit our expression).

Then we add a Trim effector and create two keyframes to animate the end of the path from 0% to 100%. For the second key, we apply an Easy Ease In and multiply the influence of the incoming velocity by two (i.e., from 33.33% to 66.66%).
Now we create the layer we would like to attach to the end of the path. We make sure its position corresponds to the center of the comp (the default value) and its anchor point is located at the left hand side of the layer.
The timeline looks like this:
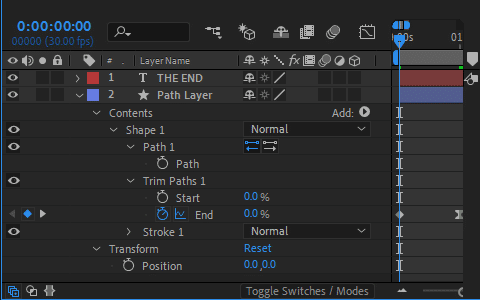
To attach the layer to the path, we need to find the location (in comp space) of the end point of the path. This is done with the following position expression:
shapeGroup = thisComp.layer("Path Layer").content("Shape 1");
myPath = shapeGroup.content("Path 1").path;
trimEnd = shapeGroup.content("Trim Paths 1").end / 100;
endPt = myPath.pointOnPath(trimEnd);

Add Salt
Let’s see if we can add a small gap between the end of the path and the attached layer. Since our path is a straight horizontal line, we only need to shift the layer to the right along the x-axis. We add the following code to the previous expression:
...
gap = 15; // distance in px between the path and the layer
endPt + [gap,0];

Add Pepper
Now we would like to try with a more complex path, say an arbitrary Bezier path. Note that the end vertex has a non-zero tangent vector.
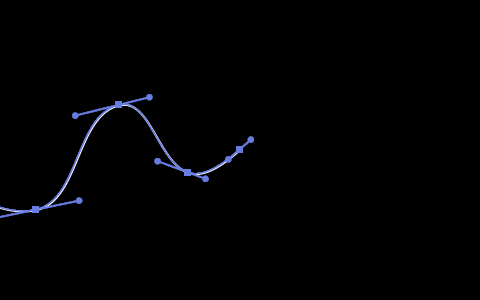
The code for the gap must be changed to take into account the direction pointed by the path (i.e., the tangent vector at the end of the path):
...
gap = 15; // distance in px between the path and the layer
tg = myPath.tangentOnPath(trimEnd);
endPt + gap * tg;

Add Cayenne Pepper
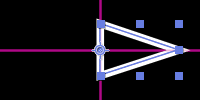
Now we would like to rotate the layer so it’s oriented along the path. To this end, we could use the corresponding built-in feature in AE:

Not that bad, but notice how the layer suddenly changes its orientation at the end of the animation. So let’s try to orient the layer using the following rotation expression (don’t forget to turn Auto-orient off before applying the expression):
shapeGroup = thisComp.layer("Path Layer").content("Shape 1");
myPath = shapeGroup.content("Path 1").path;
trimEnd = shapeGroup.content("Trim Paths 1").end / 100;
tg = myPath.tangentOnPath(trimEnd);
a = Math.atan2(tg[1],tg[0]);
radiansToDegrees(a);

Great, the orientation looks correct now.
Cake For Dessert
For better control we could precompose our layer and make some design changes in the precomp. We don’t want the (precomp) layer to overlap the end of the path so we position the content of the precomp at the center of the precomp, and left-align the content since our path animation goes from left to right.

Conclusion
We have shown how to attach a layer to the end of a path using simple expressions. Hope you find it useful!
If not, you can use or tool Connect Layers Pro to add arrow heads to your path!