
In this breakdown, we’ll look at how to build a fully physics-driven typographic animation in After Effects. The entire system is powered by Newton’s collision detection and a custom expression that drives the content of text layers based on physical impacts.
The idea started with a simple question: what if typography could respond to collisions? The goal was to use Newton’s Export Contacts feature to trigger different short words at each impact — words like “Ouch”, “Yikes”, or “Thud”. With the help of an AI assistant, a list of expressive 4–5 letter words was created to reflect reactions to pain or surprise.
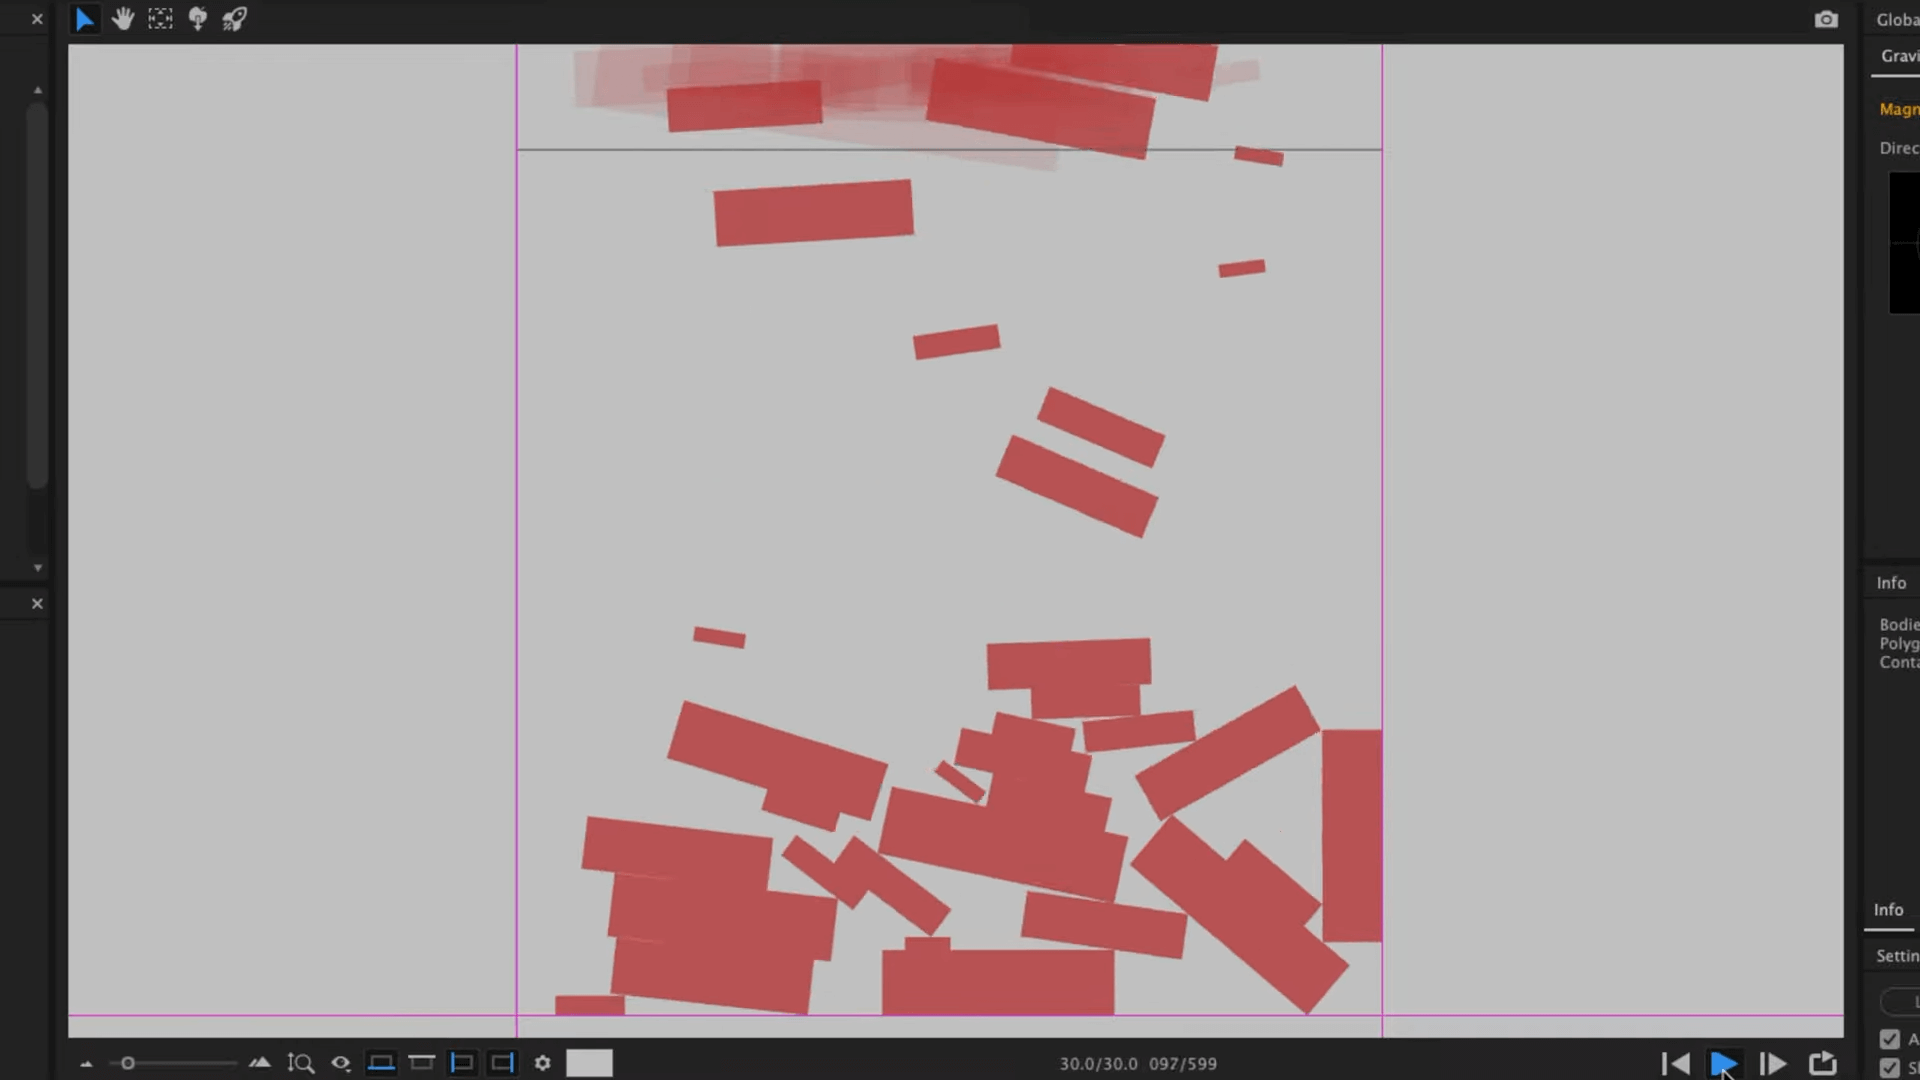
A basic After Effects composition is created with a single text layer. The anchor point is centered, and a mask is added to isolate the geometry. Newton is launched, a floor is added, and Export Contacts is enabled to generate a slider containing collision keyframes. A quick 100-frame test confirms that impacts are properly recorded.
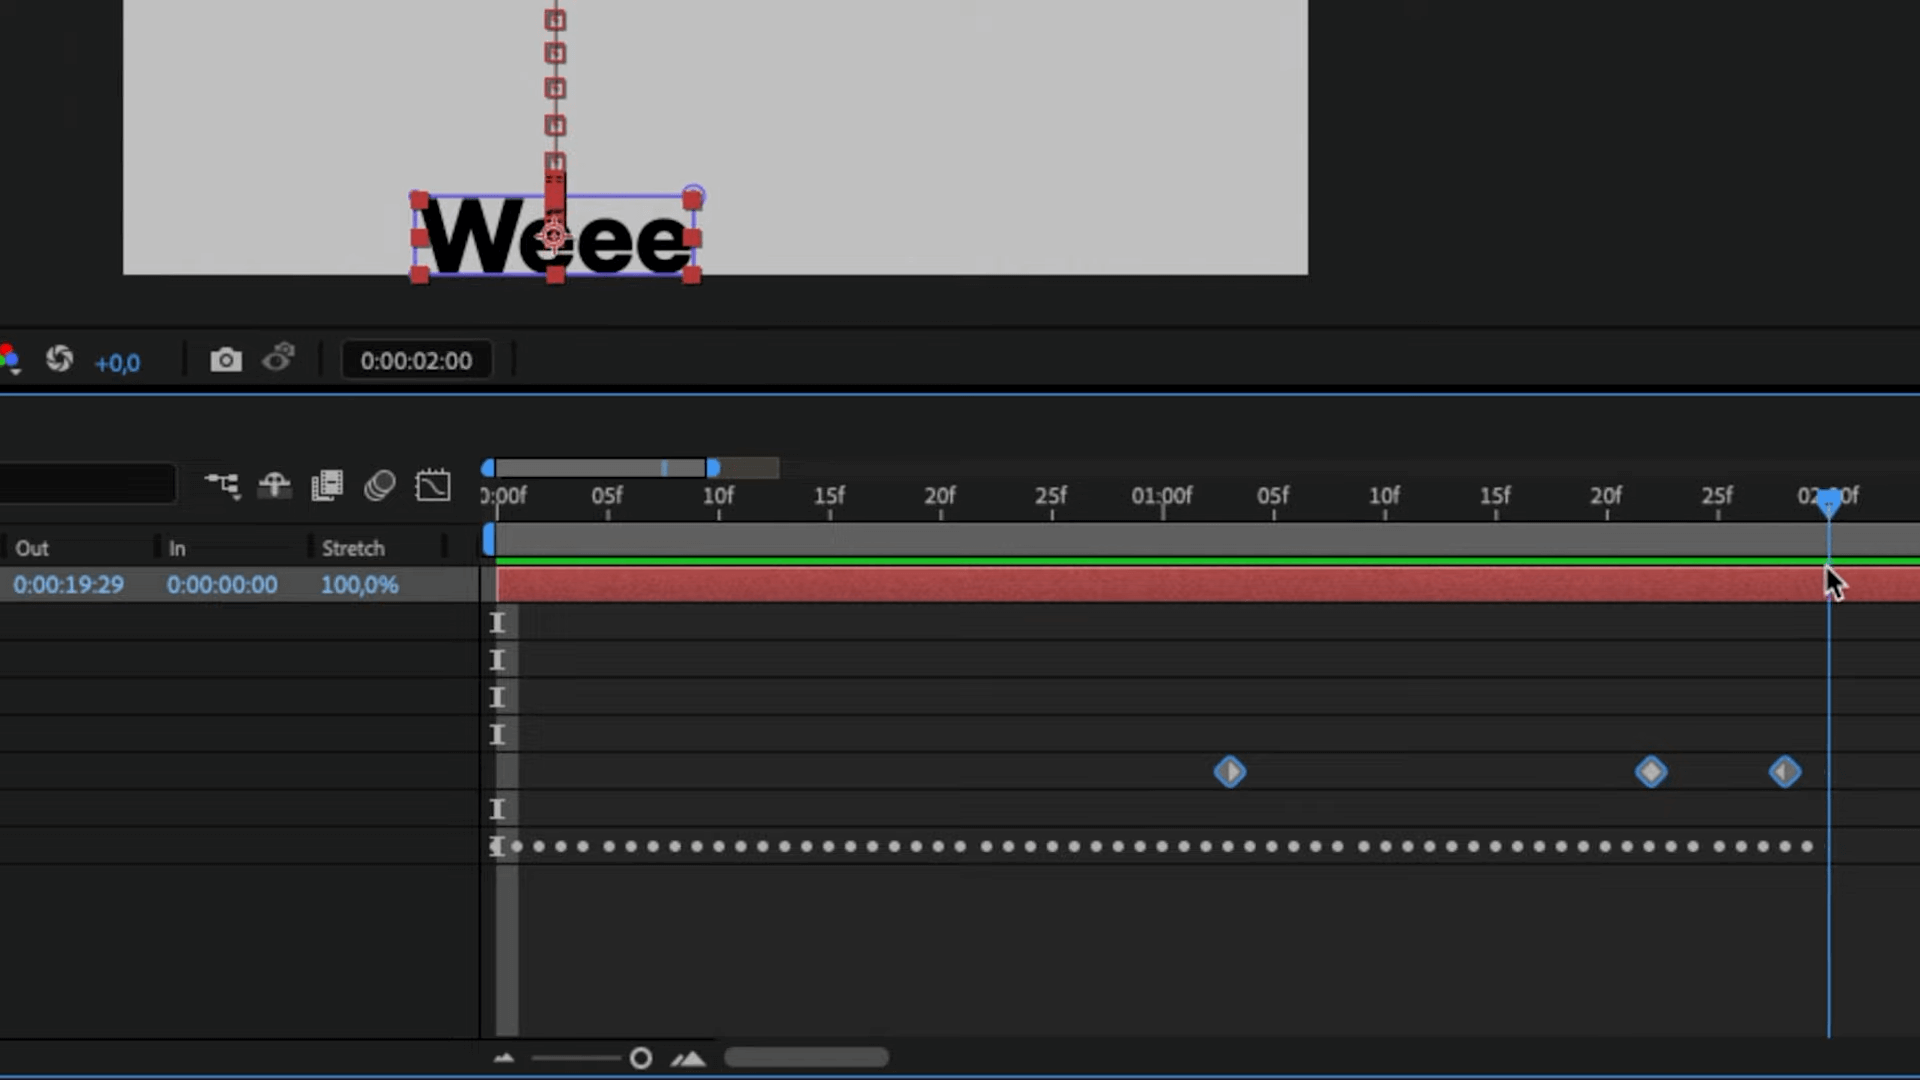
A custom expression is written to read values from the Contact slider and determine when a collision is significant enough to change the text. It filters out minor or closely spaced collisions and cycles through the list of words. The word “Weeee” always comes first, followed by randomized selections from the list.
Here's the expression:
slider = effect("Contacts")("Slider");

frameDur = thisComp.frameDuration;
minSpacing = 3 * frameDur;
minDelta = 30;

words = ["Ow!", "Ouch", "Ugh", "Aagh", "Yow!", "Whoa", "Thud", "F*ck", "Sh*t", "D*mn", "Crap", "Yikes"];

var startTime = inPoint + 10 * frameDur;

validKeyTimes = [];

for (var i = 1; i <= slider.numKeys; i++) {
  var kTime = slider.key(i).time;
  var kVal = slider.key(i).value;

  if (kTime < startTime) {
    continue;
  }

  if (validKeyTimes.length === 0) {
    validKeyTimes.push(kTime);
  } else {
    var prevTime = validKeyTimes[validKeyTimes.length - 1];
    var prevVal = slider.valueAtTime(prevTime);

    if ((kTime - prevTime) >= minSpacing && Math.abs(kVal - prevVal) > minDelta) {
      validKeyTimes.push(kTime);
    }
  }
}

var count = 0;
if (time >= startTime) {
  for (var i = 0; i < validKeyTimes.length; i++) {
    if (time >= validKeyTimes[i]) {
      count++;
    }
  }

  if (count == 0) {
    "Weee";
  } else {
    seedRandom(count, true);
    var randIndex = 1 + Math.floor(random(words.length - 1));
    words[randIndex];
  }
} else {
  "";
}
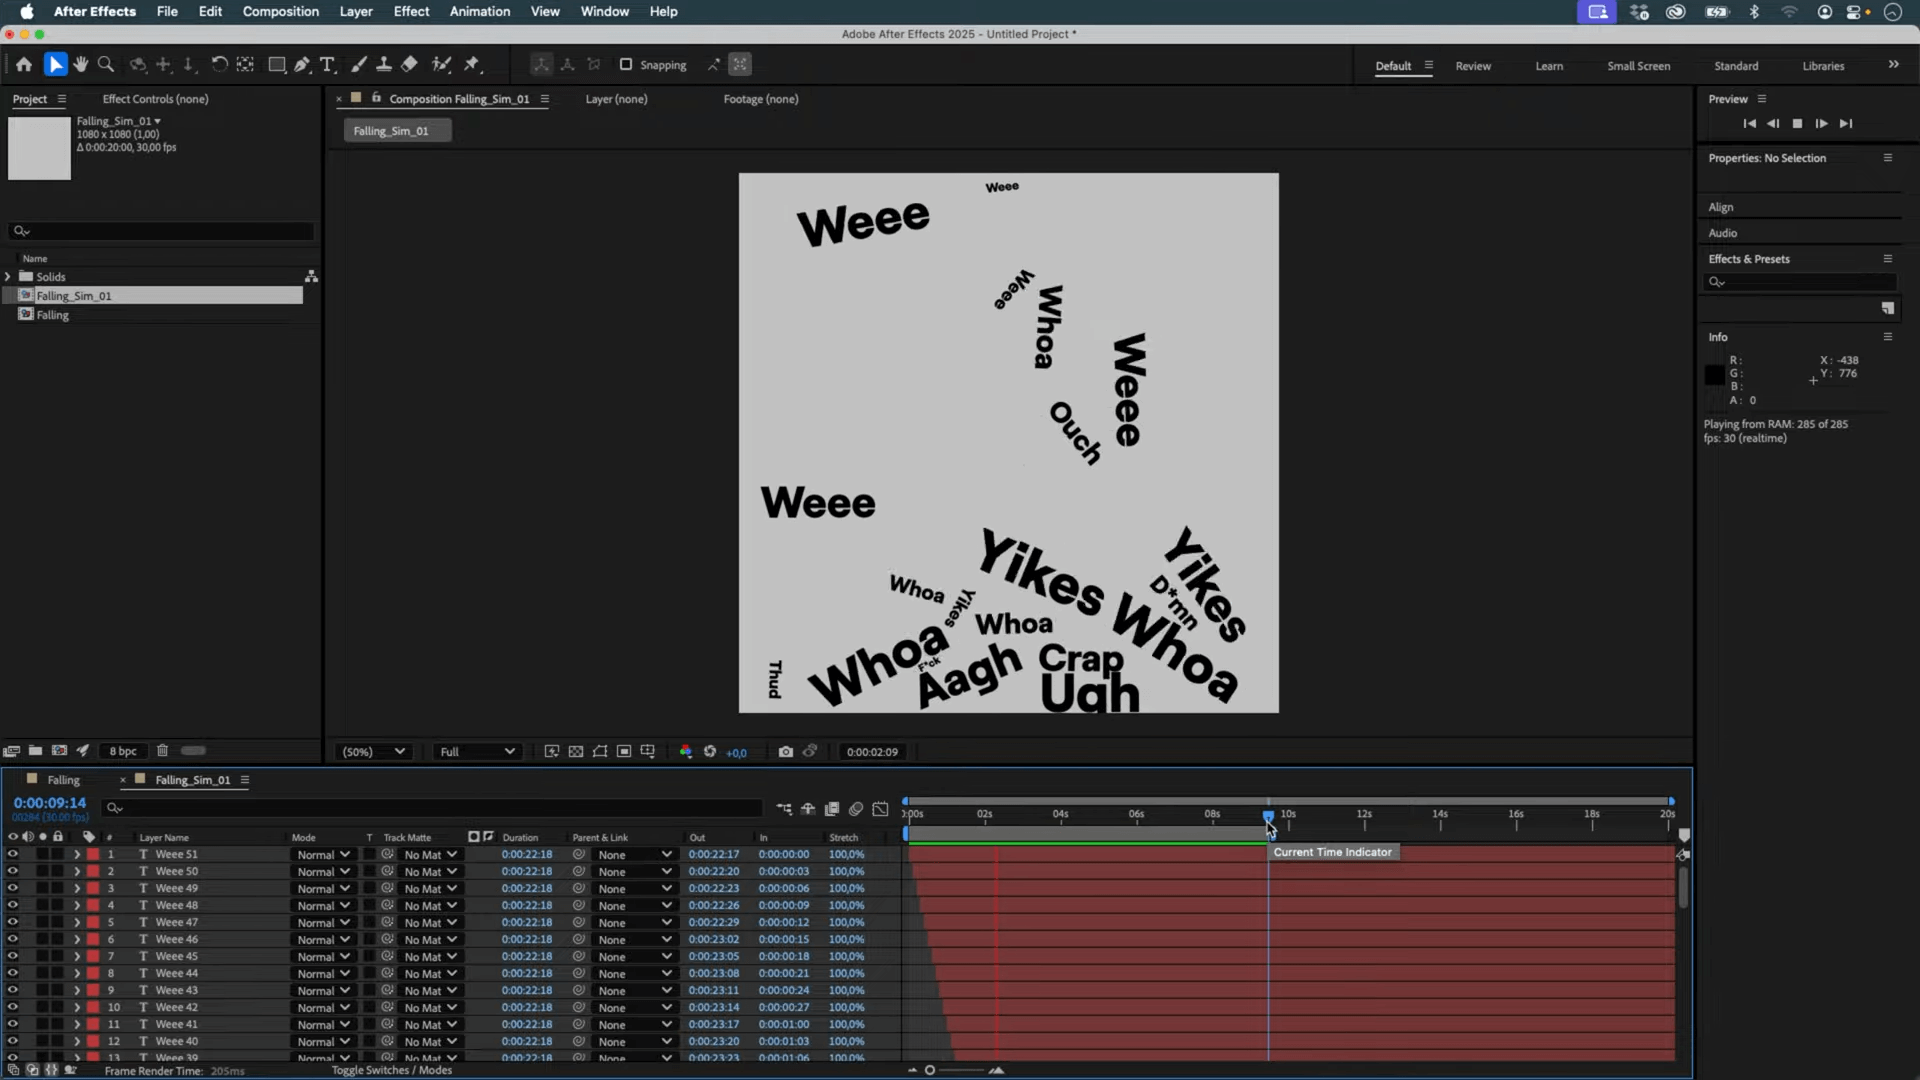
Once validated on a single text layer, the setup is scaled. Around 50 text layers are duplicated and offset in time. Random values are applied to their scale, position, and rotation. Newton is re-run, and each instance is given randomized physical properties — including density, friction, bounce, and angular velocity.
After the final simulation, all text changes are driven procedurally by Newton’s collision system. The outcome is a lively and expressive animation built entirely through physics and automation.
💡 Want to explore the expression or test it in your own setup? Feel free to dig into the project, and let me know if you'd like a downloadable template.