
Learn how to create an organic typography animation where letters fly away like petals, and combine it with a complex animated gradient background directly inside After Effects.
In this After Effects tutorial, discover how to simulate dynamic, wind-blown text physics. We use our Newton plugin to simulate the text dynamics, taking advantage of the new keyframe offset feature introduced in After Effects 25.4. Then, we build a stunning animated gradient from scratch using built-in AE effects like Wave Warp and Fractal Noise.
🗎 ➡️ After Effects Project file (for AE 2025 25.4 and above)
Get Newton for Adobe After Effects : https://aescripts.com/newton
Get Quick Chromatic Aberration 3 : https://www.plugineverything.com/qca3
Get Deep Glow : https://aescripts.com/deep-glow/
Questions or feedback? Feel free to join our Discord server
The goal of this tutorial is to simulate a natural, organic text effect using 2D physics, and pair it with a rich, animated gradient background. We will use Newton for the rigid body simulation and built-in After Effects tools to generate the background textures.
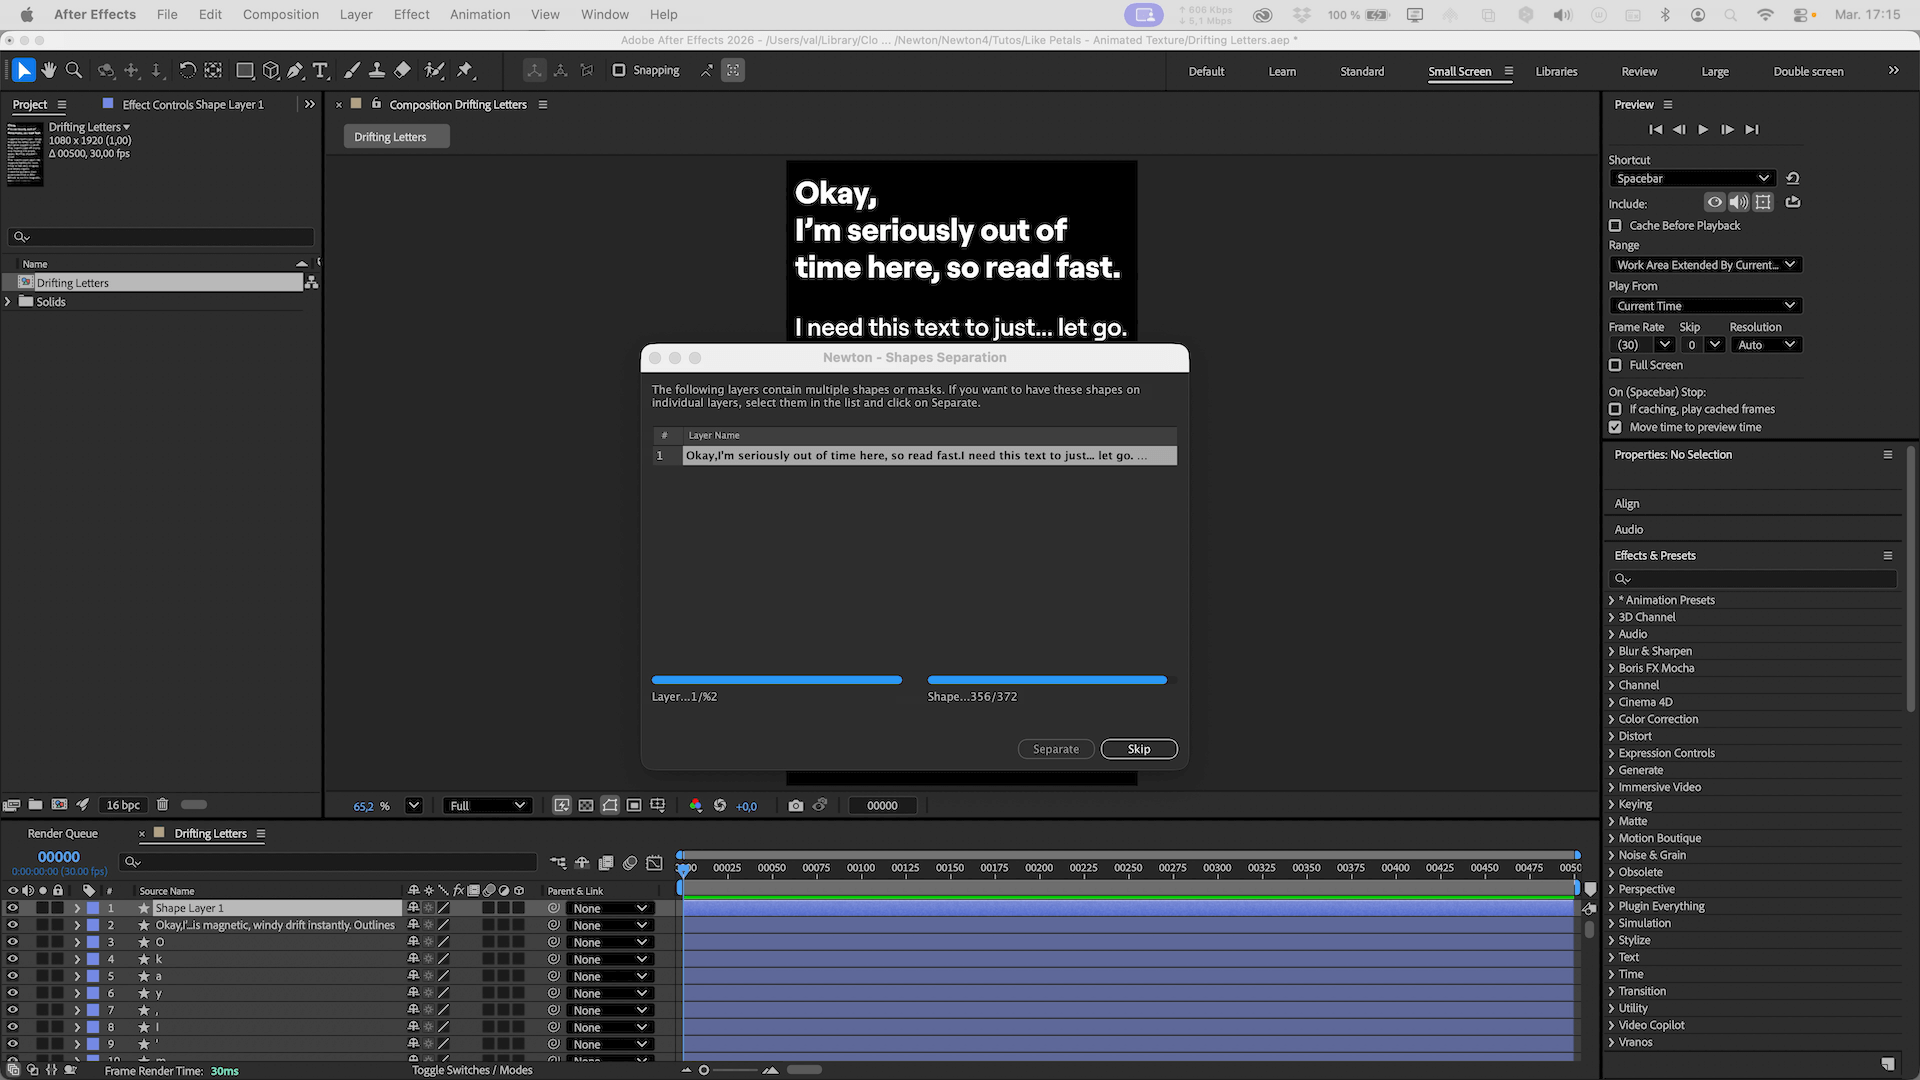
1. Shape Layers (Crucial) Create your text layer and convert it to Shape Layers so Newton can separate the elements. You can then delete the source text layer.
2. Separation & Anchor Points Launch Newton and separate the elements. Back in AE, select all the new shape layers and apply Center Anchor Point. Relaunch Newton.
3. Reset Transform Since the anchor points were centered to the comp, the objects will appear stacked in Newton. Select all objects, right-click, and choose Reset Body Transform so the letters snap back to their correct layout.
4. Optimization To ensure real-time playback, select all objects, go to Body Properties > Advanced and enable Use Convex Hull. In the General tab, set Mesh Precision to 0.
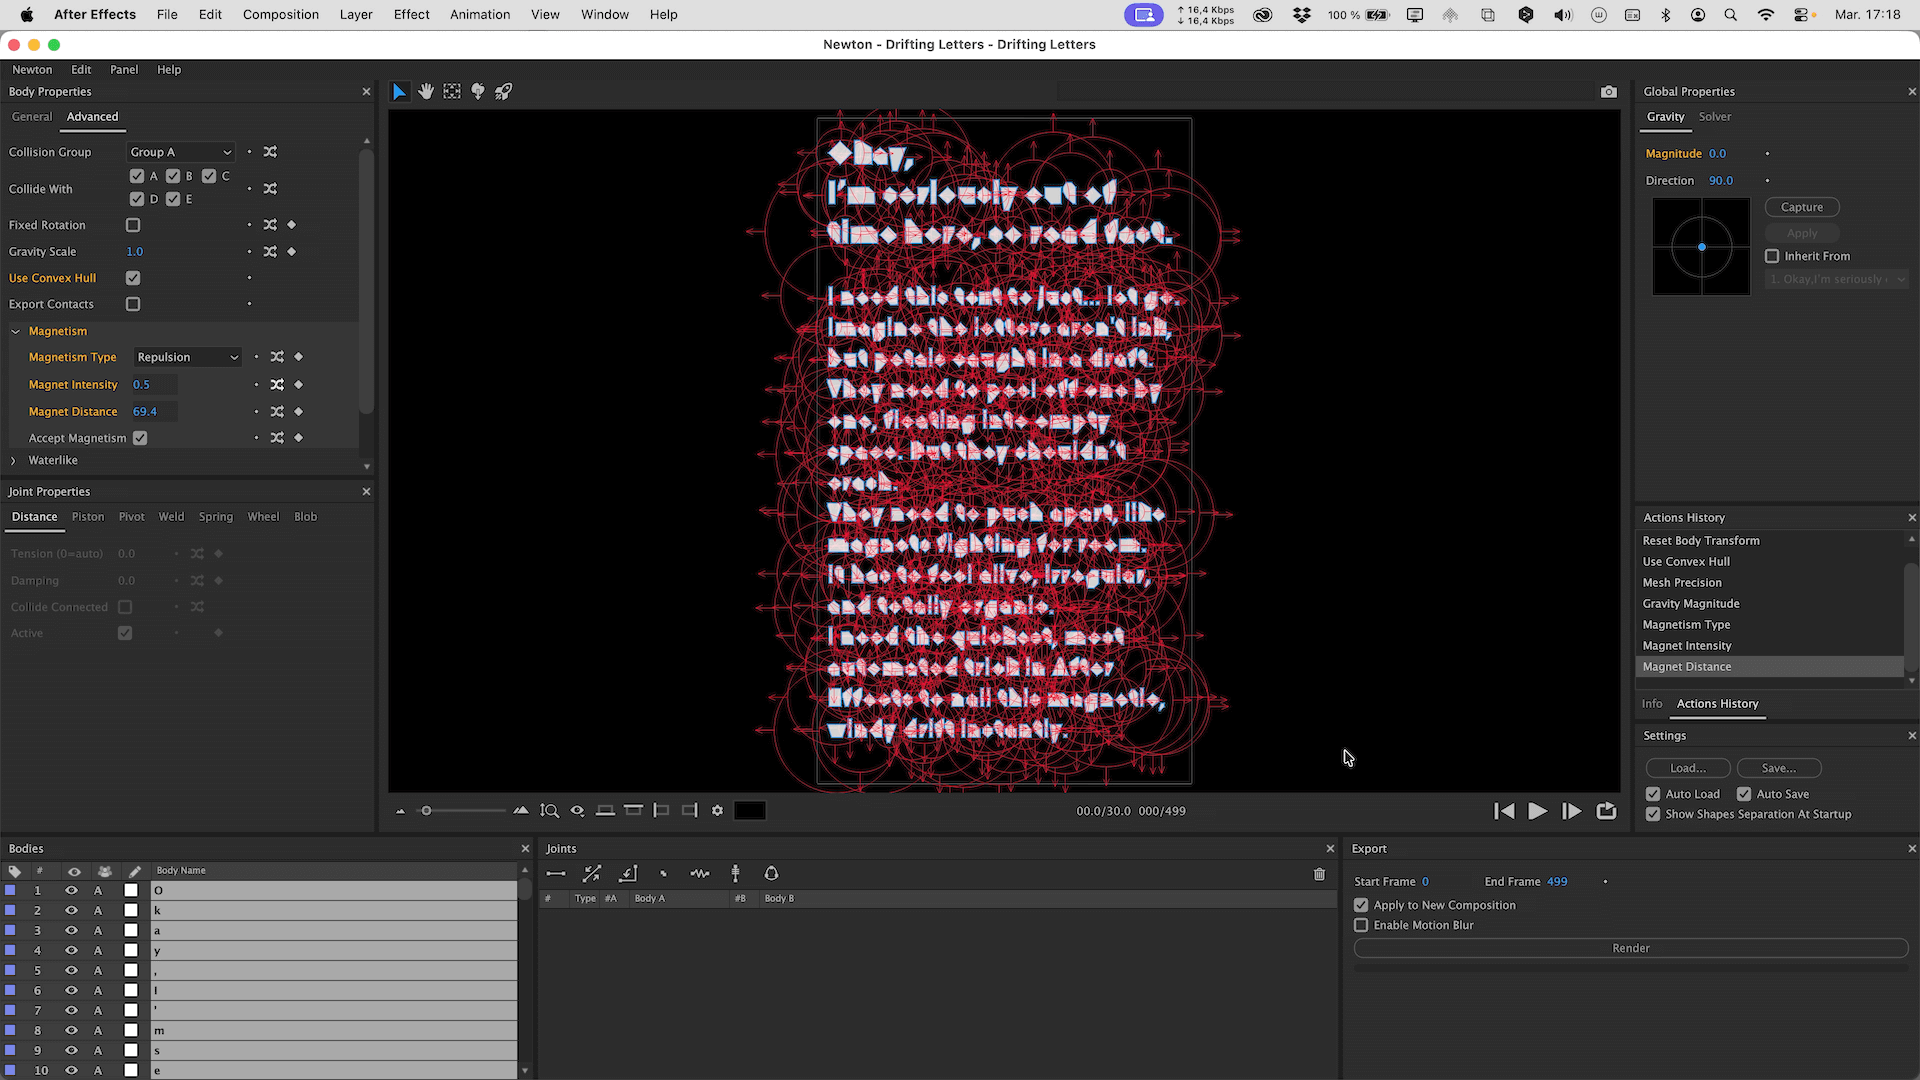
1. Zero Gravity Completely turn off gravity by setting the Magnitude to 0.
2. Magnetism Go to the Magnetism section and activate Repulsion. To make the movement look natural, use the Randomizer on the intensity (with values between 0.1 and 0.5) and the distance (between 30 and 200).
3. Damping To prevent the letters from sliding and spinning endlessly like they are on an ice rink, add both Linear Damping and Angular Damping.
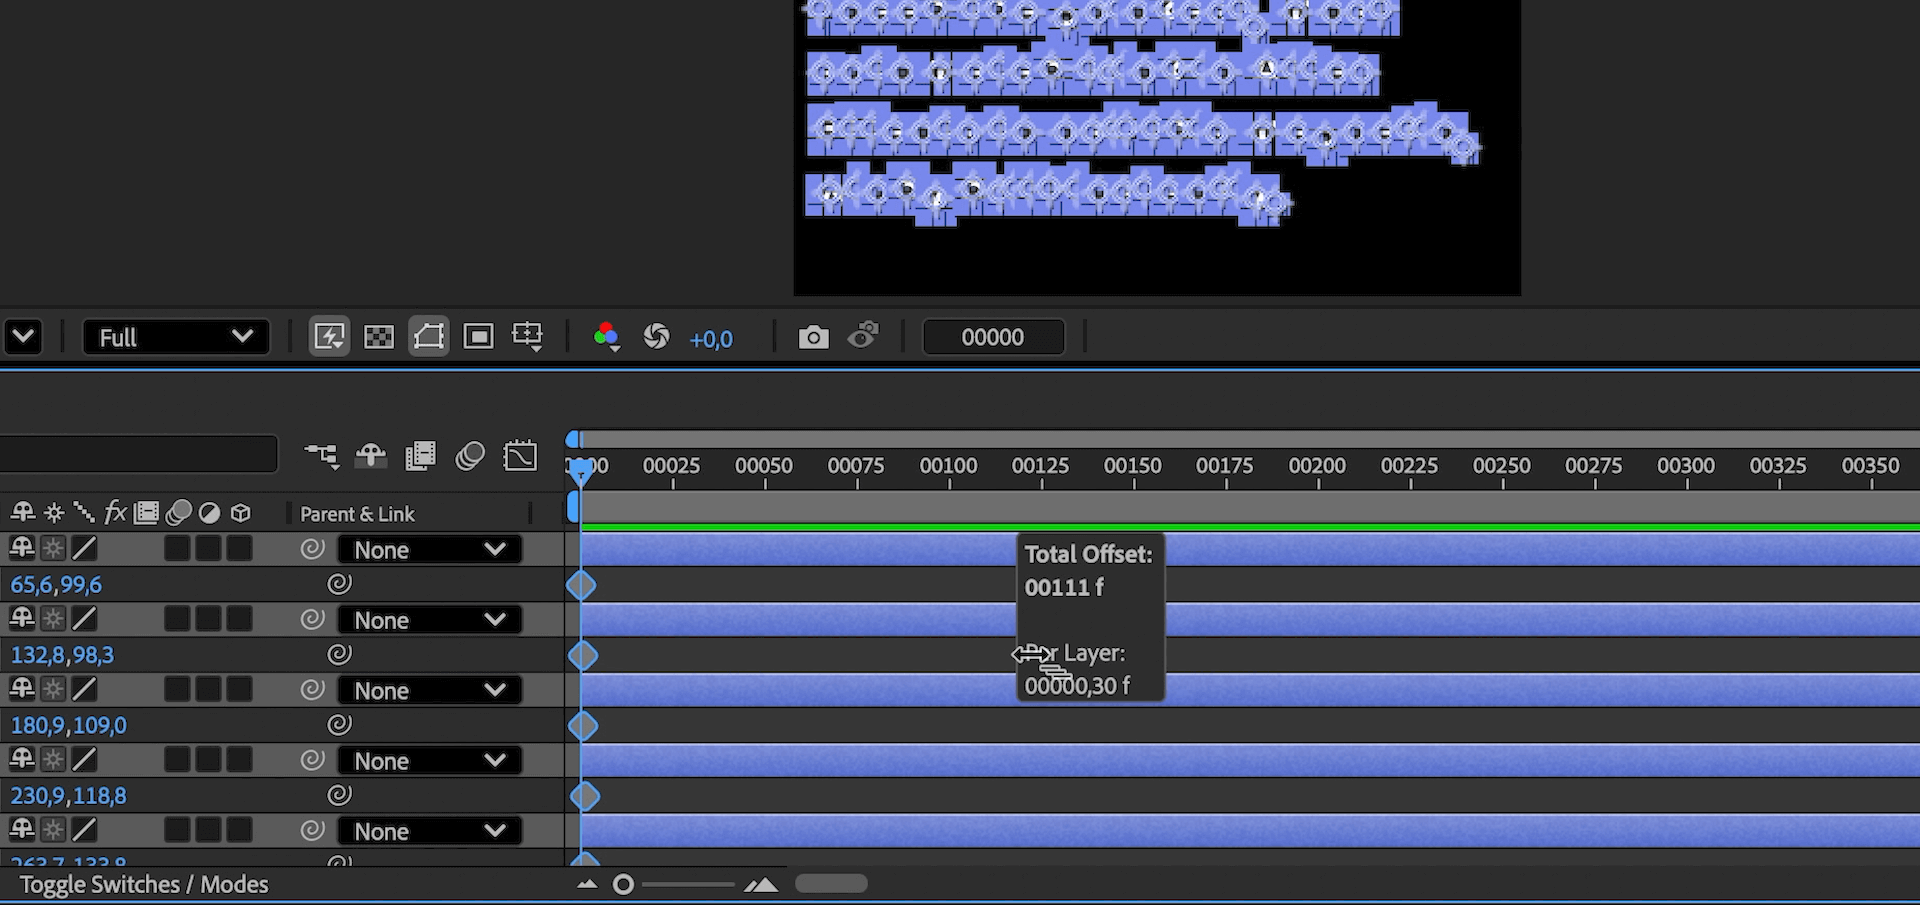
1. Position Keyframes Back in After Effects, create basic position keyframes for all your letter layers.
2. Offset Animation Use the new offset feature in AE 25.4 to shift your animation keyframes across all layers seamlessly.
3. Kinematic Mode Relaunch Newton. For Newton to understand this offset, select all the objects and change their type from Dynamic to Kinematic.
4. Wind Effect Bring back a tiny bit of gravity to give the impression that the letters are flying away. Export the simulation to After Effects.
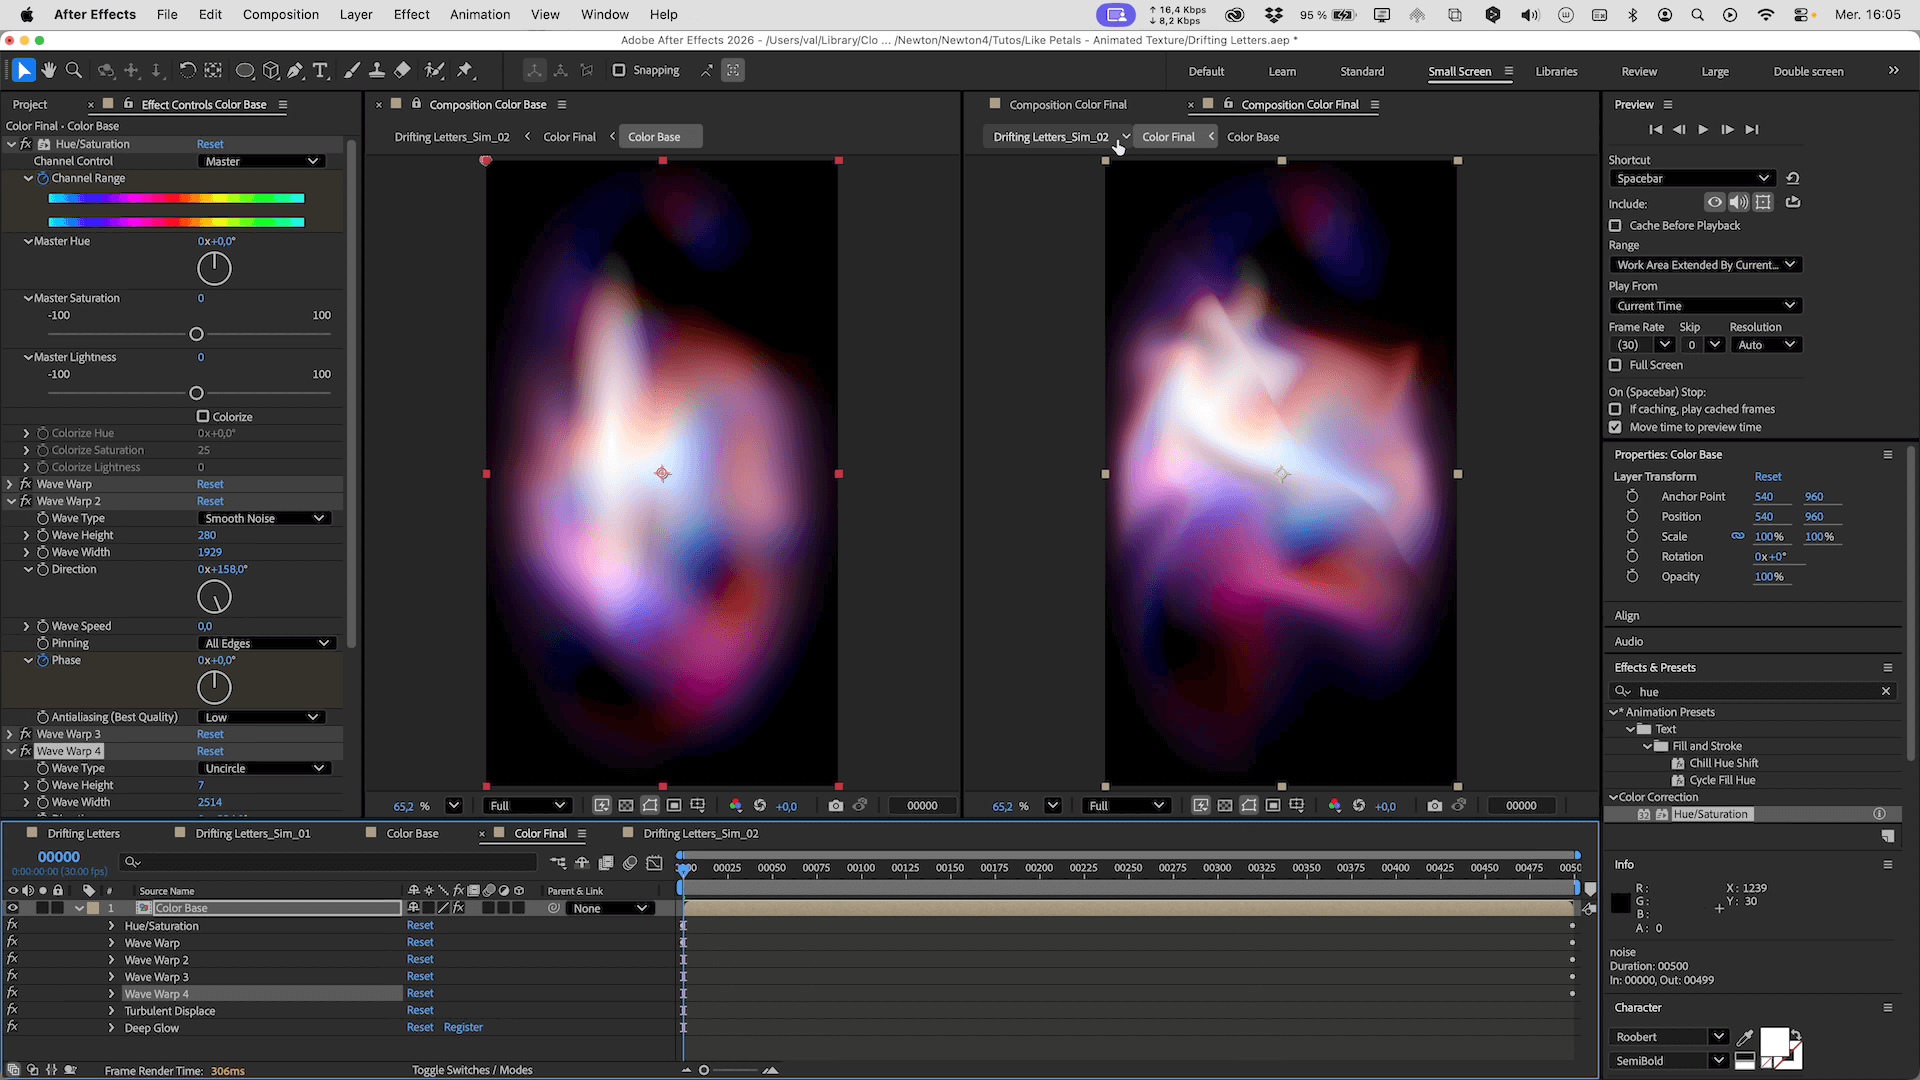
1. Color Base Create a new composition named "Color Base". Create a solid and apply the Gradient Ramp effect. Set it to Radial and choose your colors (e.g., white to magenta). Pre-compose this as "Color Final".
2. Wave Warp Distortions In "Color Final", apply the Wave Warp effect. Pin the edges (so pixels along the borders aren't displaced), choose a Smooth Noise wave type, and drop the speed to 0.01. Duplicate this effect multiple times and tweak the settings to create complex, liquid/crystal-like distortions.
3. Vignette & Texture Back in "Color Base", add a black solid with an inverted, feathered elliptical mask to create a Vignette. Add another solid with Fractal Noise (Spline type, high contrast, low complexity), scale it up, and set its blending mode to Multiply.
4. Enhancements & Glow Add an Adjustment Layer and apply Quick Chromatic Aberration 3. Create a small light impact using a distorted white gradient shape layer. Optionnal: apply Deep Glow (with reduced intensity) to smoothly blend the colors.
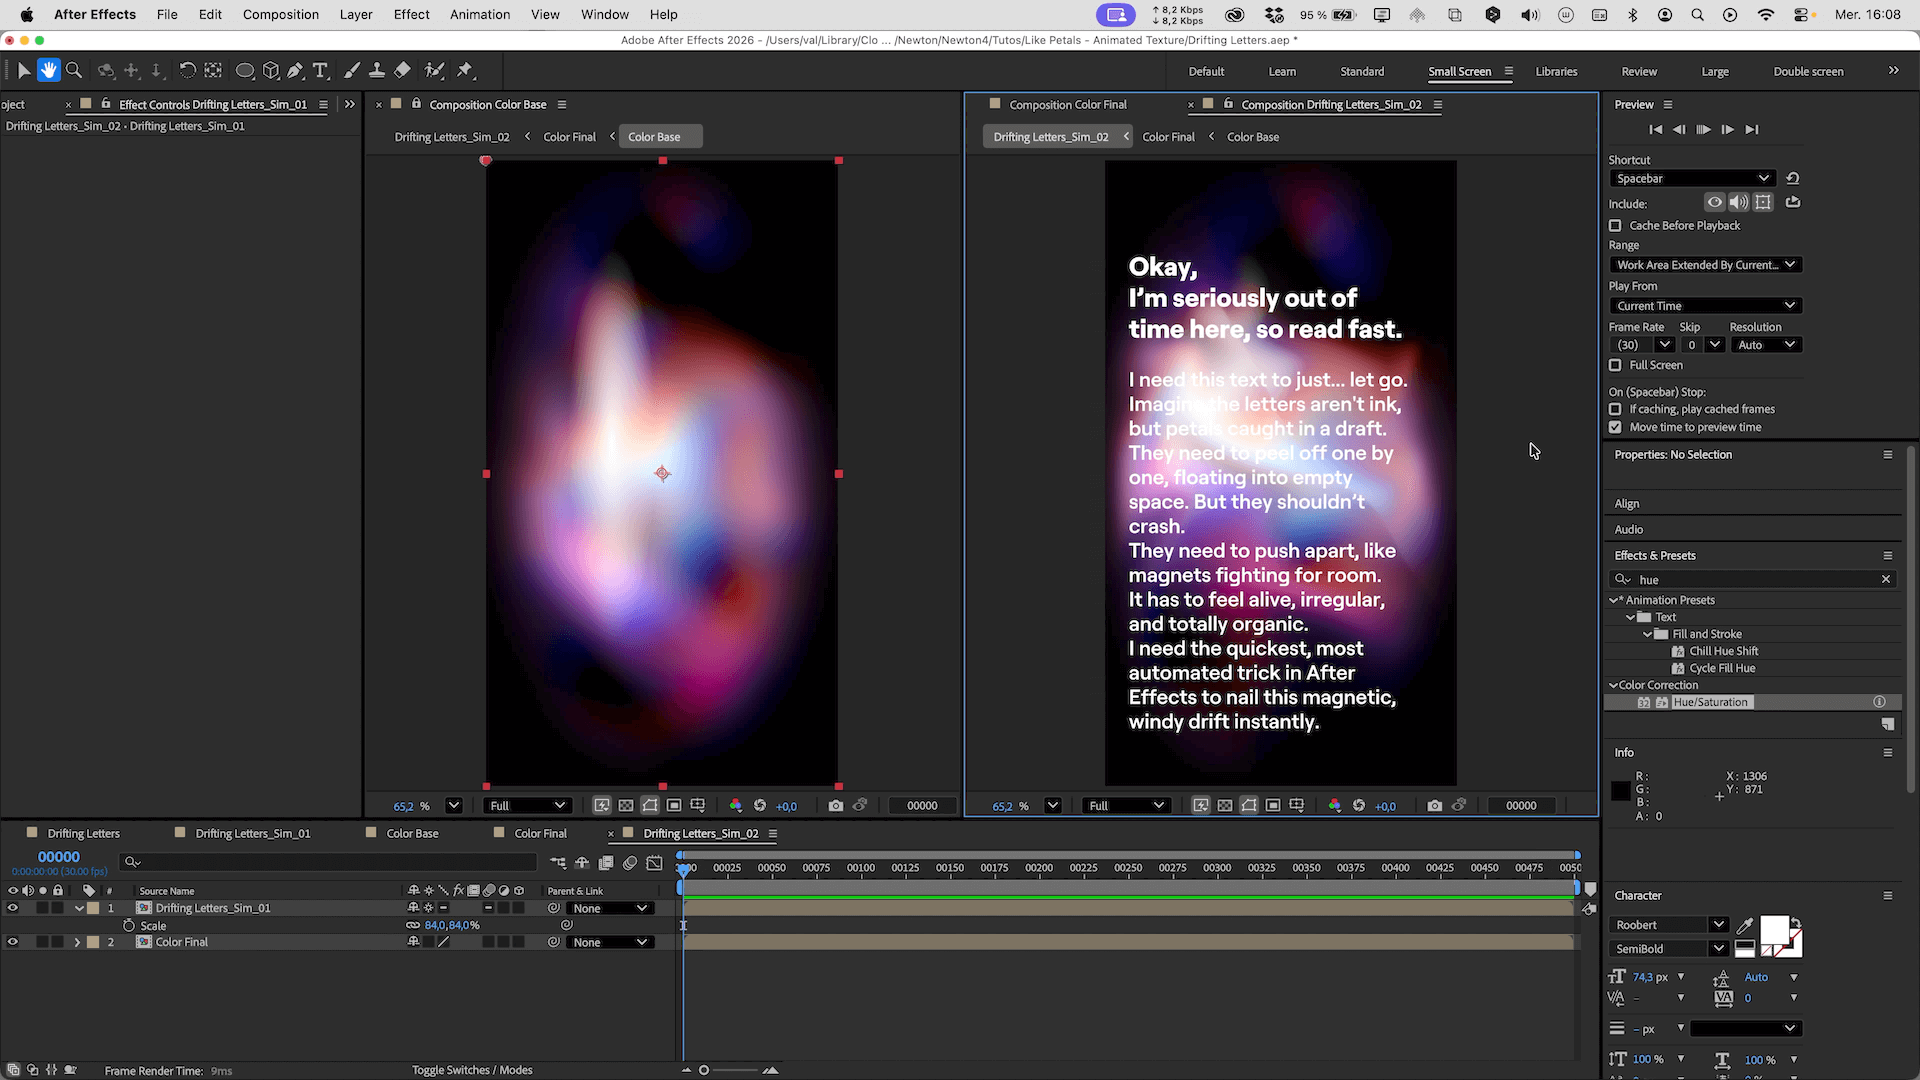
5. Color Loop Add a Hue/Saturation effect. By animating the Master Hue, you can create a seamless color loop for your background.
1. Combine Create a final composition and bring in your Newton simulation along with your animated gradient.
2. Fine-Tuning Adjust the size and position of the text. If the gradient swallows the text too much, go back into your pre-comps to darken the vignette, recenter the Wave Warp, or scale up the Fractal Noise until everything reads perfectly.
This project highlights how you can combine procedural texturing with 2D physics. On one hand, Newton easily handles complex rigid body dynamics, staggered offsets, and organic forces. On the other, After Effects' built-in tools can generate rich, evolving textures that bring your backgrounds to to life.
Feel free to experiment with these techniques, tweak the physics properties, and try new color combinations. Share your creations and questions on our Discord server !