
Tutorial: Create an Interactive Text Animation with AI and Newton in After Effects
Have you ever dreamed of creating animations where elements interact organically, as if they were alive? In this tutorial, we'll show you how to create a dynamic text animation where layers detect their environment and adapt their appearance in real-time.
Get our tools for Adobe After Effects : https://aescripts.com/mobo-super-suite/
Questions or feedback? Feel free to join our Discord server
To achieve this result, we'll combine the power of several cutting-edge tools:
The goal isn't to become a coding expert, but to see how to use these tools intelligently to bring your ideas to life. Let's get started!
The first step is to create the logic for our animation. We will ask an AI to generate the After Effects code (expressions) that will allow our layers to "see" their neighbors.
Our role is to give clear instructions to the AI. To start, we'll ask it to create an expression that counts the surrounding layers within a given perimeter.
I want an expression for Adobe After Effects.
I want to put an expression on a text layer that counts the number of layers around it, within a perimeter of 300 pixels.
The first generated code is never perfect. Our method consists of a "test-error-correction" loop:
Test the code in After Effects.
If an error appears, take a screenshot.
Send the error to the AI, which will analyze and propose a fix.

After a few back-and-forths, we get an expression that works perfectly and only counts layers of type "Text".
Now that our detection system is ready, we'll use it to animate different properties. Here are the three expressions we'll use:
The Displayed Text: The layer displays the number of neighbors, with a limit of 9.
var radius = 300;
var thisPos = thisLayer.toWorld(thisLayer.anchorPoint);
var count = 0;

for (var i = 1; i <= thisComp.numLayers; i++) {
  if (i != thisLayer.index) {
    var other = thisComp.layer(i);
    try {
      var srcText = other.text.sourceText;
      var otherPos = other.toWorld(other.anchorPoint);
      var d = length(thisPos, otherPos);
      if (d > 0.5 && d <= radius) {
        count++;
      }
    } catch (err) {
      // not a text layer — ignore
    }
  }
}

Math.min(count, 9).toString();
The Scale: The layer grows (from 25% to 150%) based on the number of neighbors.
var radius = 300;
var thisPos = thisLayer.toWorld(thisLayer.anchorPoint);
var count = 0;

for (var i = 1; i <= thisComp.numLayers; i++) {
  if (i != thisLayer.index) {
    var other = thisComp.layer(i);
    try {
      var srcText = other.text.sourceText; // throws if not a text layer
      var otherPos = other.toWorld(other.anchorPoint);
      var d = length(thisPos, otherPos);
      if (d > 0.5 && d <= radius) {
        count++;
      }
    } catch (err) {
      // skip non-text layers
    }
  }
}

// Clamp count to a maximum of 9
var clamped = Math.min(count, 9);

// Remap from 0→9 to 25→150
var scaleVal = linear(clamped, 0, 9, 25, 150);

[scaleVal, scaleVal]; // uniform scale
The Stroke: The stroke width increases with the density of layers.
var radius = 300;
var thisPos = thisLayer.toWorld(thisLayer.anchorPoint);
var count = 0;

for (var i = 1; i <= thisComp.numLayers; i++) {
  if (i != thisLayer.index) {
    var other = thisComp.layer(i);
    try {
      var srcText = other.text.sourceText;
      var otherPos = other.toWorld(other.anchorPoint);
      var d = length(thisPos, otherPos);
      if (d > 0.5 && d <= radius) {
        count++;
      }
    } catch (err) {
      // skip
    }
  }
}

// Clamp to max 9
var clamped = Math.min(count, 9);

// Remap to stroke width range: 0 → 10
linear(clamped, 0, 5, 0, 10);
With our logic in place, it's time to make our objects move naturally.
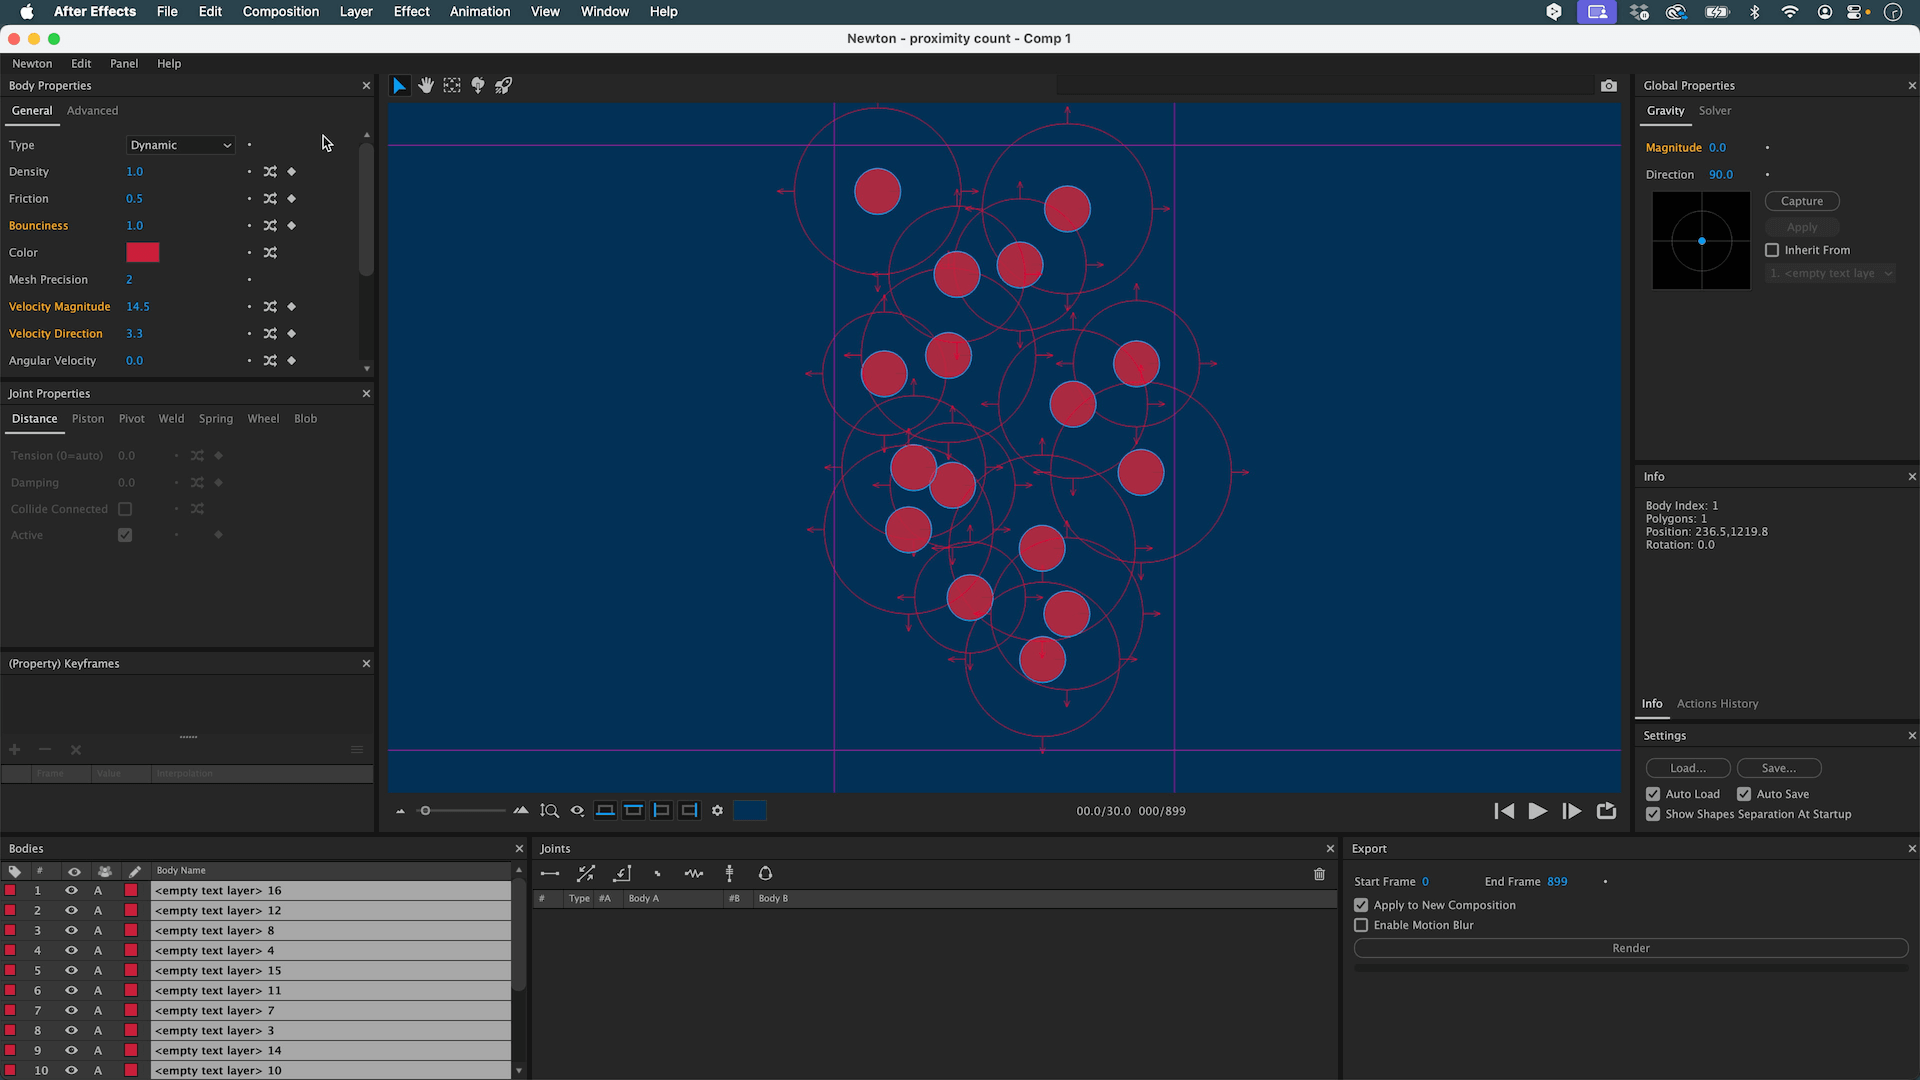
Once satisfied, render the animation to export the keyframes back to After Effects.
Our animation is now functional and fluid, but it's missing the final touch to make it visually captivating.
Quadratic In-Out.
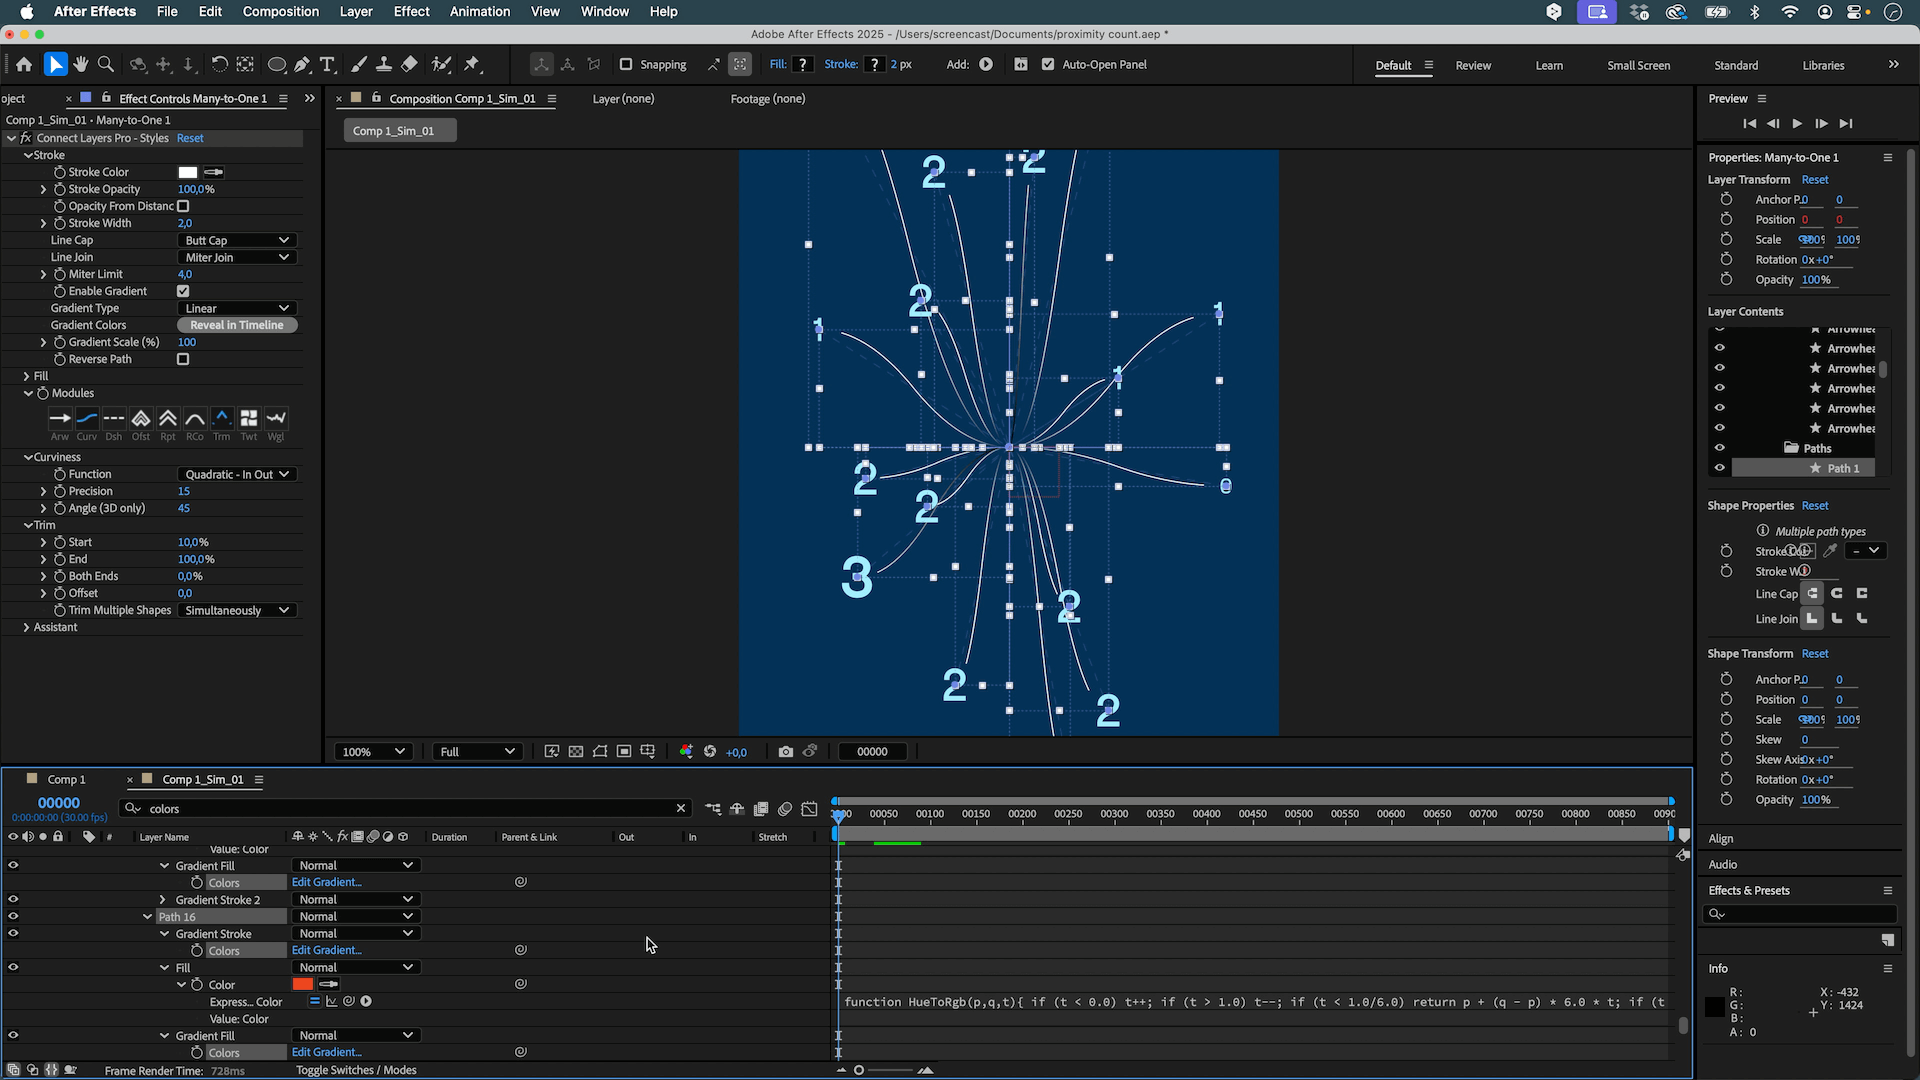
And there you have it! By combining the intelligence of an AI for the code, the power of Newton for the physics, and the efficiency of Connect Layers Pro for the design, we've created a complex animation in a simple and intuitive way.
This workflow shows that you no longer need to be an expert in code to achieve sophisticated effects. The most important thing is to have a creative vision and to know how to use the right tools to achieve it.
Feel free to experiment with these techniques. Share your creations and questions on our Discord server !